Sunday, 28 April 2019

ESAD So Long Old Favourites Blog Hop


Welcome to ESAD So Long Favourites Blog Hop.
We are a group of  25 Australian and New Zealand Demonstrators who are sad that
our favourites products from 2018-2019 catalogue are Retiring
BUT they are making way for lots of brand new products released on Jun 3.


Originally I thought I would like to have created something with Brusho's
which are pigment based inks that come to life when you add water.
BUT that would take time as it had to dry in between layers.
SO I needed something that was quick so I had lots of leftover
Share What You Love DSP...


 This DSP is so beautiful and it has a Pearl finish to some of the papers.
So I set out to re-create a page that I had made a long time ago...
Thinking it was going to be quick and easy...Haha famous last words.


That page was easy BUT then I decided I needed to do a matching layout
for my Scrapbooking Classes on Monday night.
AND I NEVER EVER (WELL RARELY EVER) DO A
SCRAPBOOK LAYOUT WITHOUT PHOTOS
so I think this made my job harder too!!!

This is when it became not so quick and easy as this page didn't come together as quickly as I would have liked....Lots of to-ing and fro-ing with this my fellow demo friends.
EVENTUALLY  I got something that I am truly happy with...
AND a bit of fussy cutting makes my heart happy.


I snuck in a couple of products that are carryover from 2018-2019 catalogue
into the new 2019-2020 catalogue. I was lucky that quite a few of my favourite
stamp sets stuck around!!! Even though I didn't use many stamps and ink here.
The stamp set Swirly Frames, which has so many cools frames to use on your
Scrapbooking or card making...


I used Crumb Cake Classic Stampin' Pad  and on the Swirly Frames stamps
Mossy Meadow Cardstock for the photo mats.
I used Stampin' Dimensionals and Mini Glue Dots on the Vellum to pop them up
and to hold the vellum together on the banner/swag.


I cut all the circles with the Layering Circle Framelits...
I just wish there was more than one of each size as I had to cut 19 circles of one size
the beauty of these are that you can cut rings with
larger and smaller circles at the same time
7 of another size...So lots of cutting!!!
Hope you enjoyed my double layout!!!


Can you see that beautiful pearl sheen to those fussy cut flowers,
isn't it BEAUTIFUL!!!
So Sad that it is leaving us at the end of May...If it doesn't sell out beforehand.
If you want this beautiful paper, hurry up and shop here and your will find
this DSP and sooo much more in the clearance rack


Up next is Maree McIntosh
I wonder what products she has used as one of her favourites products from the catty.
Click the NEXT arrow to see her creations.

Thank you for visiting my blog, please pop down below and leave me a comment
It makes my heart skip a lil beat when I see that you have left me some lovin.
Until next time, enjoy the rest of your Sunday.
Cheers Shaz


https://bcreativewithberyl.wordpress.com/2019/04/28/so-long-old-favourites 


Blog hop participant list:


Thursday, 25 April 2019

Scrapbooking Global April Blog Hop - Flowers or Spring


Welcome to Scrapbooking Global - Stampin' Up!  April Blog Hop.

If you haven't heard of Scrapbooking Global - Stampin' Up!
it is a Facebook group which I created in Jan 2017.
It is a group which I created for us SCRAPBOOKERS who use Stampin' Up! products.
We just hit "5000" members and I couldn't be more excited.
Join us over there for all the inspiration that Stampin' Up! products allow us to create.

It is Mariejosee Gagnon's time in the spotlight as
Scrapbooking Global - Stampin' Up! Guest Designer for April.
Mariejosee is a Demostrator from Quebec, Canada.
Click on her photo to see what she has designed for us this month.

https://www.inspirationscrapfolie.com/2019/04/une-page-de-scrapbooking-printaniere-et.html

Mariejosee and 19 other ladies are going to show us their creations
  for the April's theme of Flowers or Spring


As it is Autumn here in Australia, I decided to go with flowers that have autumn tones.
I am using a Sale-A-Bration suite that just left us at the end of March.
So sad to see it go, it has the most beautiful floral DSP and a Stamp Set to match.
I am talking about Painted Seasons Cling Stamp...

I started this layout before I went to Auckland for OnStage LIVE event on the 11th-13th.
BUT I never finished it until this morning....Phew with just hours to go!!
I used the largest floral stamp to create my background on
Whisper White 12 x 12 Cardstock.

I used a Sponge Dauber to add the colours to this stamp by adding the lightest colour
of Grapefruit Grove Classic Stampin' Pad to cover the entire stamp and then I daubered
a small amount of Pumpkin Pie Classic Stampin' Pad around the edges
and the centre of the flower.

I created a mask out of a sticky note which I cut slightly smaller
than the stamped image to cover the flowers so that I can add the leaves behind it.
The leaves are stamped with Call Me Clover Classic Stampin Pad.

Here is a quick photo tip.


I added some banners cut from more of this gorgeous paper on the reverse
with the Banner Triple Punch which allows you create 3 different sized banners.
But I just cut sizes I liked from the DSP, then used that punch to create my banner.

Next I sat for a few hours and cut out a heap of flowers from this gorgeous piece
Who else loves fussy cutting??? I find it so relaxing!!!
Next I decided where they needed to be placed.
Some of them I added Mini Stampin' Dimensionals to create different perspective.


I used Poppy Parade Cardstock mat for my photos, this really made the
photos POP as they are only mobile phone pictures and the quality is a bit dodgy.
These photos make me so happy, without these girls in my life I think I would be lost.
They mean so much to me, they definitely light up my day <3
This was an early Birthday Morning Tea just for me
as they couldn't be with me on my actual birthday <3
My cake was leftover from the littliest one's 1st Birthday, so they used the 1 candle
BUT added a five made out of smarties beside it...for my 51st Birthday
This Mum thinks of everything.


I used the Well Written Framelits Dies to create my title out of Call Me Clover Cardstock


I do hope that you liked my flowers that I created for this Blog Hop!!!
Thank you once again for visiting <3 Please leave me some LOVE in the comment
box at the end of this post... I do love reading what you thought of my creation.

Up next is Patty Chenail at Patty's Stampin in my flops. Sounds perfect to me
I am currently sitting in my PJ's as it is a cold and bleak day outside...
YEP I still haven't even had breakfast and it is almost 11.30am.

Lets see what Patty has created for us...


Please click on the NEXT button and it will take you to Patty,
BUT If for some reason the link is broken at the end of this post
is a complete list of Hoppers. You can visit all of them from here <3
Please give them some love too <3


Thanks again Cheers Shaz

Monday, 1 April 2019

We Create In Color 2017-2019 Blog Hop


Welcome to We Create 2017-2019 In Color Blog Hop, Shaz here.
You may have just joined me from Paper Fairy Kris's Blog
Today we are showcasing the soon to be retired colours of 2017-2019.
One in particular is my very favourite colour, Lemon Lime Twist...
will be sadly missed by me...

Sooo sad that colours have to retire, BUT that only means one thing
NEW COLOURS are coming when the new catalogue goes LIVE on June 3.
Cannot wait to share them with  you.

I literally whipped these babies up in about 1 hour....
I took inspiration from a card that Jackie Noble created and she gifted it to me.
Using all 5 colours and Beauty Abounds - Bubbles stamp it was done in no time flat!!!

http://www.creativejax.co.nz/2018/02/stampin-up-ci28-eclectic-happy-birthday/


Here they are individually

Berry Burst


Fresh Fig


Lemon Lime Twist


Powder Pink


Tranquil Tide


They are the same BUT different, Sooo effective in all the colours.


Hope you are inspired to create some quick and easy cards using up your soon to be retired cardstock, inks and ribbons.

Up next is Tricia Butts with her very creative take on In Color 2017-2019 


Thank you for hopping by my Blog, please leave me some LOVE
in the form of a comment and I will in turn return the favour...
Follow the Blog Hop by clicking NEXT
Until next time
Cheers Shaz


Wednesday, 27 March 2019

Ink & Share Scrapbook - All About Me


Welcome to Ink and Share Scrapbook Blog Hop,
This month we are focusing on All About Me.

This layout is not just a photo of me, it is a photo of hubby and me...
Celebrating our 27th Wedding Anniversary.

I used the Big Plans Memories and More Card Pack...
Inspiration for the back piece of tissue paper came from this card.
I love the fact with these cards you can make a very simple layout, quickly!


Up next is Karen Pearmain

https://www.craftylittlemissk.co.uk/2019/03/ink-share-scrapbook-blog-hop-all-about.html?fbclid=IwAR3-7jcIpOMkijEI3f9QPUrfBC6DczIPr9zT7-0GGnzBn9EMQem3w9EaxW8

If this next button doesn't work, click on the links below


Thank you for hopping with me on this Blog Hop,
please leave me some comments.  And in turn I will leave you some love.
Cheers Shaz


Thursday, 21 March 2019

Scrapbooking Global Blog Hop - Mixed Media


Welcome to Scrapbooking Global Blog Hop March 2019 - Mixed Media.
There are 18 of us creating Scrapbooking Layouts, Canvas pieces or anything will work.
BUT today is all about our Guest Designer...


Nature is our Guest Designer for the Month of March, she
picked this theme.
Check out Nature Gibner's Blog with her interpretation of Mixed Media


WHAT IS MIXED MEDIA you ask...
Stampin' Up! has lots of products that you can use as Mixed Media, IE - Embossing paste, Brusho's, Embossing folders, and lots of wooden elements...Our reinkers could be used for sprays...Shimmer paints can be used...We have so many beautiful ribbons n places you could tea dye them or use our re inkers to colour them...Embossing folders can also be used to create layers in mixed media.
You could do a Canvas or a Scrapbook page Torn papers, Stamped tissue paper then scrunched up and stuck down roughly to create lumps and bumps over the surface of your page then sprays with our inks.
Get the idea now...


You may have just joined me from Sharni Haines blog, pretty sure it will be AMAZING


Sooo that is where I started with Recycled Cardstock from our DSP, the brown paper
that used to come with our order (sad about that not being inside our boxes anymore)

Now I didn't have a clue at this point as to what photos I was using....
I normally start with my photos and work out the colours from there.


Sooo with really no plan, I just decided to play with our recycled products and some glue...
Here is what happened. I crumpled up the brown paper,
adding glue to the cardboard and then I carefully pulled it apart and layed it over the white cardboard backing.
Being careful to still make sure there were crumpled bits here and there


Next I added a pleated banner at the top of the page, still not knowing what I was creating.
Then thinking about all the wonderful products that Stampin' UP! have to play with
I decided to add some White Embossing Paste over the banner


Next I thought I better find some products to use on this page...
Checking out the catalogue I remembered that I had brought
Big Plans Memories and More card pack.
So there was my inspiration for the colouring of the banner.
Pineapple Punch and Calypso Coral Re-Inkers.
Adding drops of these colours to the banner with a pipette and then spritzing them
with water to make it run down the banner.


Next I chose my photos, which is something I usually do at the beginning of my layout.
My Best Friend got married almost 2yrs ago and I haven't scrapped any
of her photos and I thought these would look great on this layout...

So then I felt like it need more texture...Mixed media to me is all about texture.
next I added the very delicate
Delightfully Detailed Laser Cut specialty paper.
Cut away from around the banner and then thought I would glue it with a
bit of tombow and water on the my non sticky mat...
Well that is when everything went pear shaped!!!! INSERT ANGRY FACE!!!


So started again with a new piece of delicate paper, this time I added the glue all
over the
brown paper background and then carefully placed it down to stick it!!!

Next I used a FREE product from Sale-A-Bration that I thought matched the theme
of my layout with all the floral textures on it...
So happy to tell you that this product is coming in the 2019-2020 Annual Catalogue..
Country Floral Dynamic Textured Impression Embossing Folder

Adding this behind one of the photos with some of the ink daubered around the edges
and over the top of the impression it leaves when run through the Big Shot.
I cut the centre out of photo mat to use on the layout somewhere...
ALSO when using Embossed cardstock as your photo mat,
I always add cardboard behind it to give it stability.


I also add cardstock to the back of the photos on lumpy bumpy textured backgrounds.
AND on the embellishments too to give them dimension.
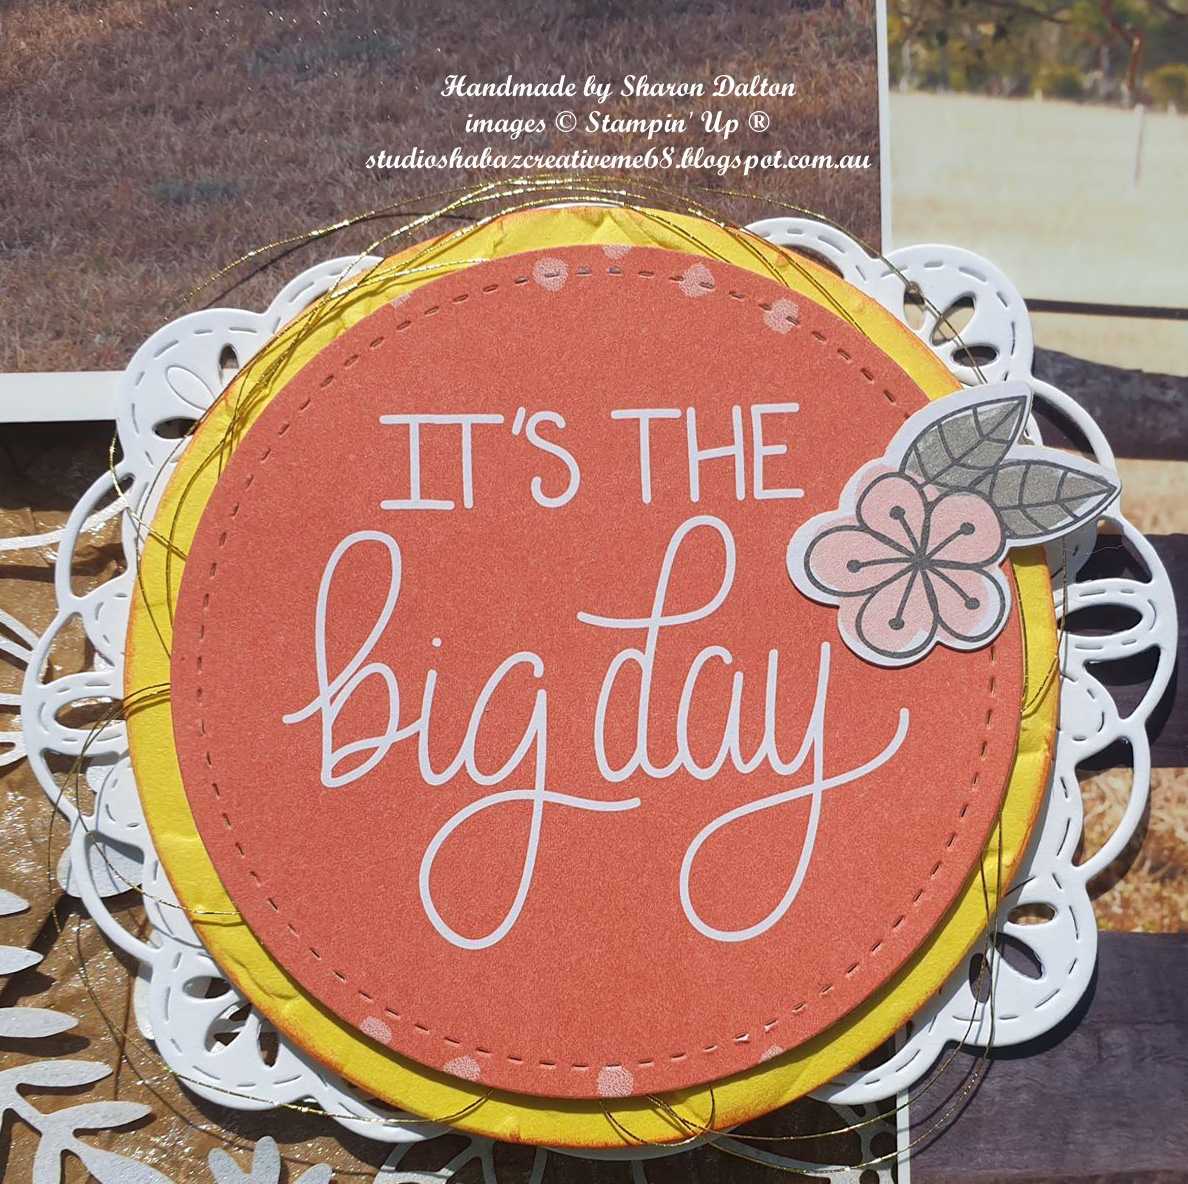
I used the Stitched Label Framelits, the embossed cut away from the photo mount and
one of the cards from Big Plans Memories and More Card Pack
as well as the Gold Metallic Thread


Almost to the end now BUT I just got to add something else...
A bit of SHIMMER...Frost White Shimmer Paint

before adding the photos and all the flowers over the background.
The Flowers are from Big Plans Memories and More Card Pack Sticker Sheets


OK I will let you see it now....after a few more sneak peaks LOL


The Congrats is a long since retired product... I Love these.
I painted it with Shimmer paint same as I used on the background.


Up next is Sara Levin our very own Creative Design Team Member.
Sara will kick this out of the ball park, cannot wait to see what she created.

http://theartfulinker.com/scrapbooking-global-march-2019-blog-hop


Thank you for visiting my Blog, I do hope you enjoyed this Mixed Media layout.
Please leave me some love in the comments box and I will pop over
and leave you some love in your comment box too.

Cheers Shaz

If you live in Australia and wish to buy these products simply visit MY SHOP


Delightfully Detailed Laser Cut specialty paper.
White Embossing Paste
Frost White Shimmer Paint 
Stitched Label Framelits
Big Plans Memories and More Card Pack 
Gold Metallic Thread