Tuesday, 19 January 2021

The Spot - #146 - Case the Designer Jay Soriano


 Welcome to The Spot #146 - Case the Designer Jay Soriano.
Jay Soriano is part of the incredibly talented Mitosu Crafts from UK...
I have long since followed Jay and his designs BUT this is my first time caseing him.


 We welcome you to join us the Designers from The Spot -  The Inspiration
and Weekly Cardmaking Challenges
to CASE (Copy and Selectively Edit) in my case
one of Jay's designs from his Blog and link it to this post


Here is the Post from Mitosu Crafts Blog that I decided to CASE

Jar of Flowers Stamp Set

The Jar of Flowers set belongs to the Flowers for Every Season Suite. You can find it on pages 10-12 in the Annual Catalogue.
It is a Reversible set with 9 photopolymer image designs. It also coordinates with the Jar Punch and can be ordered as a Bundle with a saving of 10%.

For my card ideas, I coloured the floral images with Stampin’ Blends Markers and used Repeat Stamping technique. I also used Make A Difference stamp set for the sentiment. Which also allows for further card customisation with the alphabet scripts in the set.

Jar of Flowers Card 1
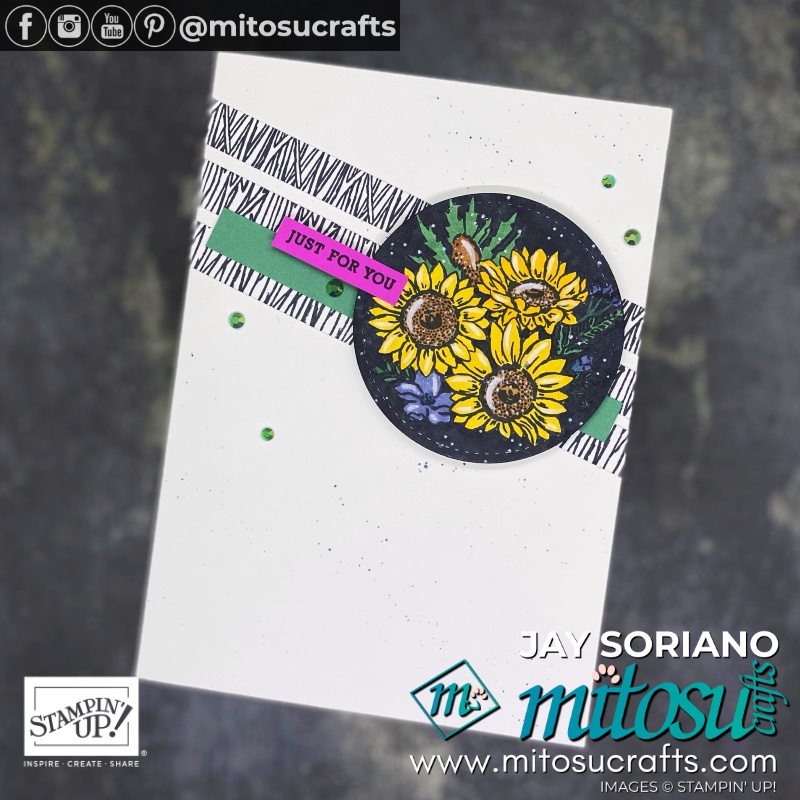
Stampin Up Jar of Flowers Coloured In Stampin Blends Markers Card Ideas | Mitosu Crafts UK by Barry Selwood & Jay Soriano

For this card, I stamped the sunflower design on Whisper White card in Memento ink. The colours of Stampin’ Blends Markers I used were: Mango Melody, Just Jade, Misty Moonlight, Cinnamon Cider and Basic Black. I also used the Misty Moonlight to add splatters on the Whisper White Thick card base. The Stampin’ Chalk Marker adds highlights and interest on the topper as well.

The design on the diagonal strips comes from repeat stamping the stalks design in the set.
Stamped on Whisper White card with Memento ink then cut into strips of 1cm or 3/8″.
I then added the strip of Just Jade card and the sentiment on Magenta Madness card.
Finishing off with the Flowers for Every Season Gems.

I did not use Jar of Flowers in my design, I chose to use a Brand NEW product..
Some of the products from our NEW Jan- June Mini Catalogue.
Forever and Always Bundle pg 11 - 156200 - $79
True Love Designer Series Paper pg 11 - 154281 - $20
Gilded Leafing Embellishment - pg 33 - 154560 - $15.75
Resin Hearts - pg 55 - 154578 - $12.25

I cut up my B&W True Love Designer Series Paper (DSP)
into 1/4" strips first and then laid them across the top quarter of my card front.
Next I added a 1/4" piece of Flirty Flamingo cardstock over the top of the DSP.

I punched out a circle with my 2" punch out of Black cardstock
and ran it through the subtle embossing folder.

Next I stamped the Largest flower design from Forever &Always Stamp Set
with Memento Tuxedo Black Ink so that I could colour it with Blends.
When using Blends you must use a water based ink with the alcohol based blends.
Otherwise your design will bleed and not look very good.

I used Petal Pink L and Poppy Parade L to colour in my flower.
I completely coloured the flower in Petal Pink and then used the Poppy Parade to
add highlights to the flower in the centre and around the edges.
I then added a light cover of Tombow Glue to the centre and the edges and
placed that to the side to let it dry and become tacky
so that I could add the Gold accent of the Gilded Leafing Embellishment.

It doesn't take a long time to do this process BUT the Gilded Leafing
gets everywhere if you are not careful...Once the glue on the flower is tacky you simply add the Gilded Leafing to the glue areas and cover it until all is covered...
Then you need a hard stipple brush to brush away the excess Gilded Leafing...

Next thing I did was Die Cut the word LOVE from the Always Dies
out of Whisper White Cardstock and then in these Dies there is also a shadow
to put behind the LOVE word which I die cut out in Black Cardstock
using our BRAND NEW Mini Stampin' Cut & Emboss Machine...
Makes life so much easier with this lil girl...

Next I stamped the You So Very Much in Memento Tuxedo Black Ink
toward the bottom of my card more on the right side so that I could
add my Die Cut word LOVE above it!!

Then added 3 little white Resin Hearts from the Snailed It Bundle

Such a Gorgeous design this card that it doesn't need much to embellish it.


Then I created a smaller version for the inside using Petal Pink D and Poppy Parade L


I totally enjoyed CASEING Jay's design, You should give it a go! Link Up here
BUT as you can see you can make your very own version of his designs.

Thank you for visiting my Blog, Hope that I have inspired you to join in the Challenge #146
Cheers Shaz
 

Tuesday, 12 January 2021

The Spot - #145 - Splish, Splash Challenge


 Welcome to The Spot #145 - Splish, Splash Challenge.
 Please join us in this FUN challenge as it allows you to get all inky
and have free range on your creativeness...

I chose to watercolour and spritz to create my backgrounds for my stamped images

I chose to use Fluid 100 Watercolour paper - 149612 - $15.00

FLUID 100 WATERCOLOR PAPER 
and a variety of 3 Classic Stampin' Pads -
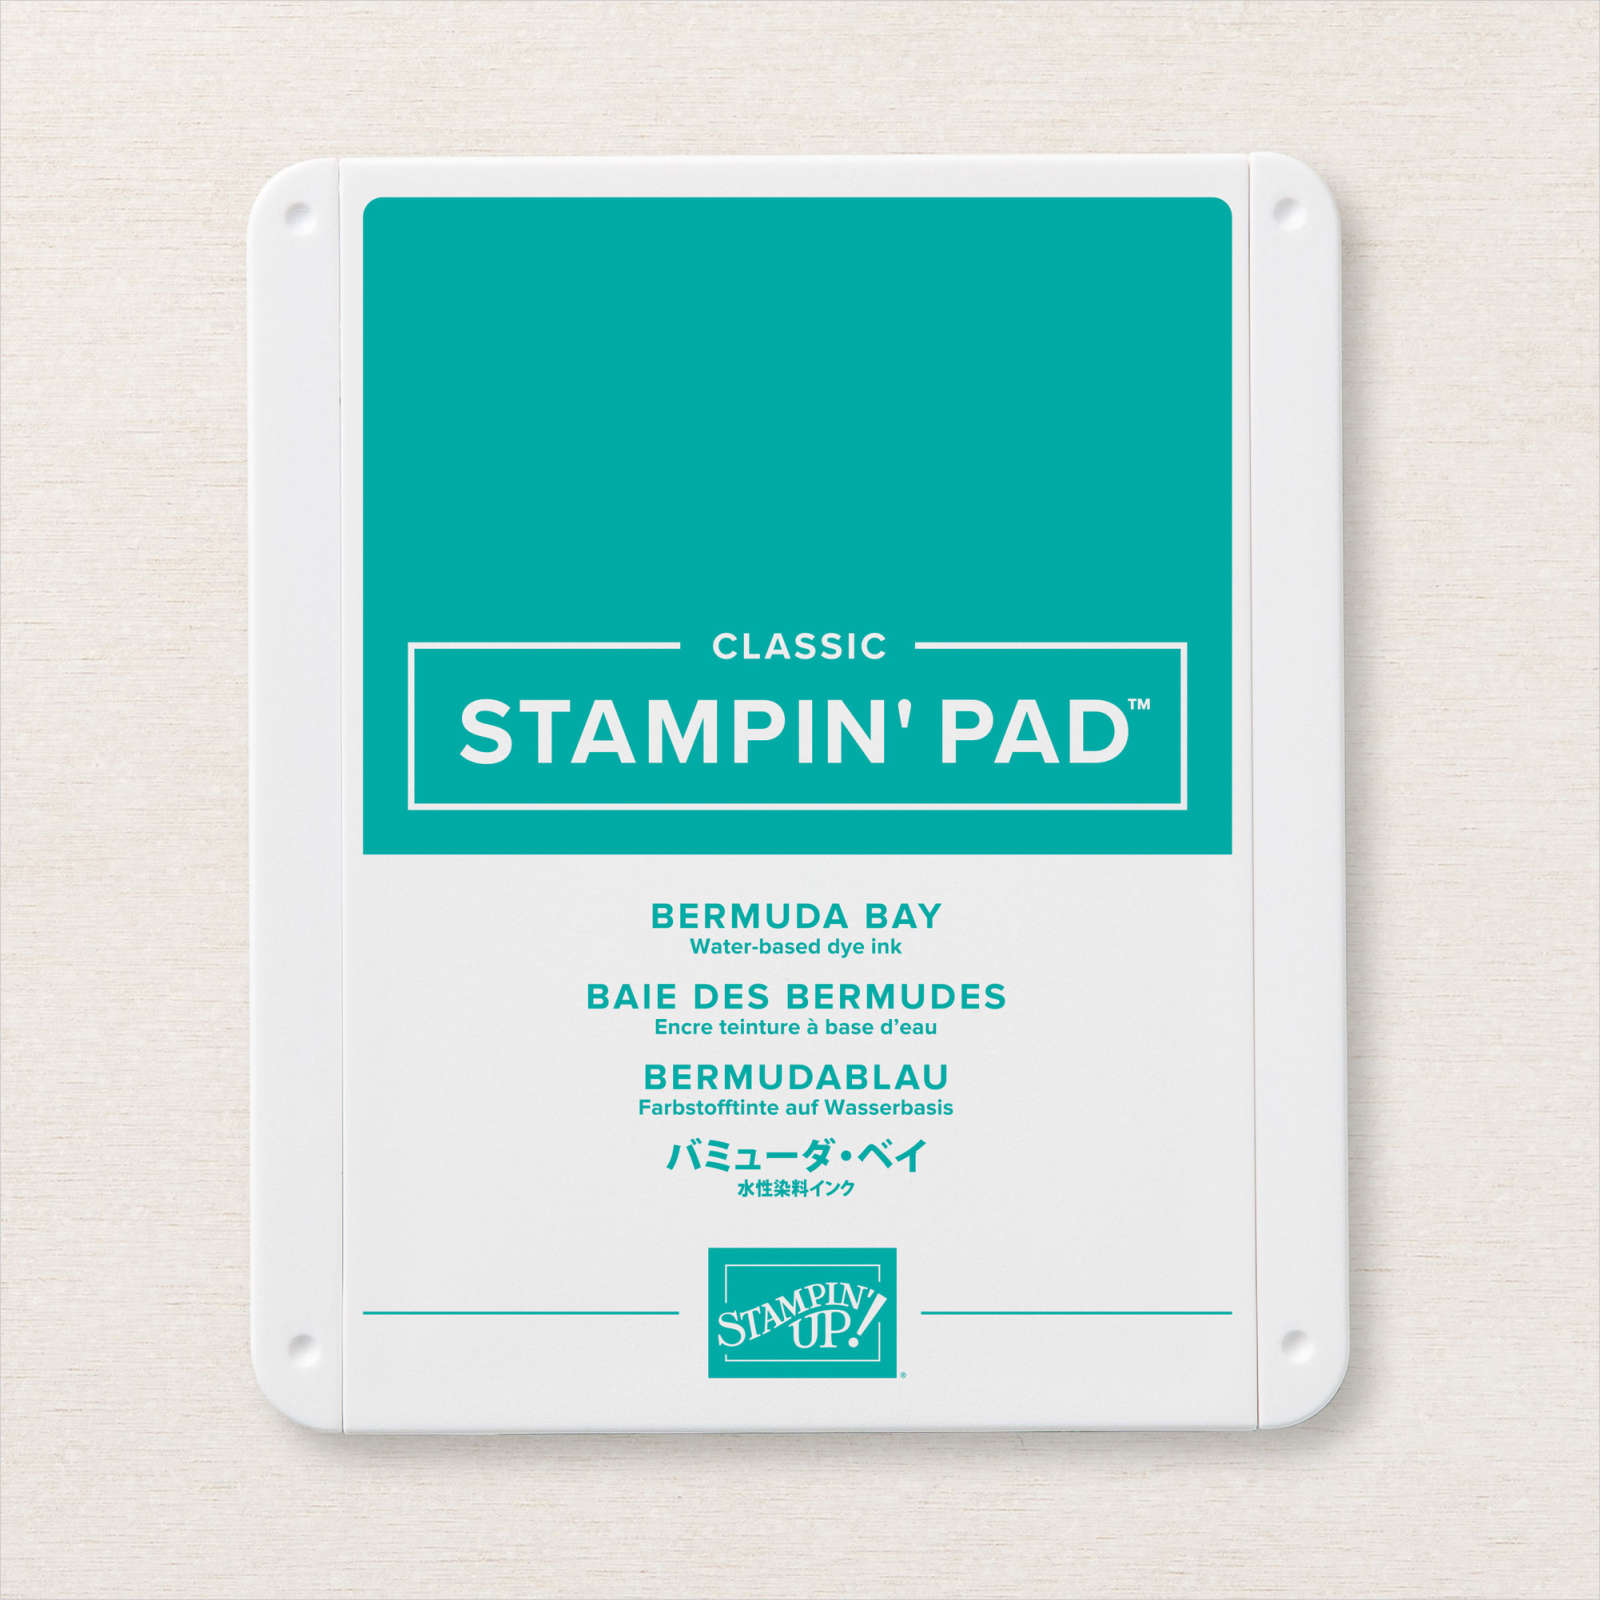
Bermuda Bay Classic Stampin' Pad - 147096 - $13

BERMUDA BAY CLASSIC STAMPIN' PAD

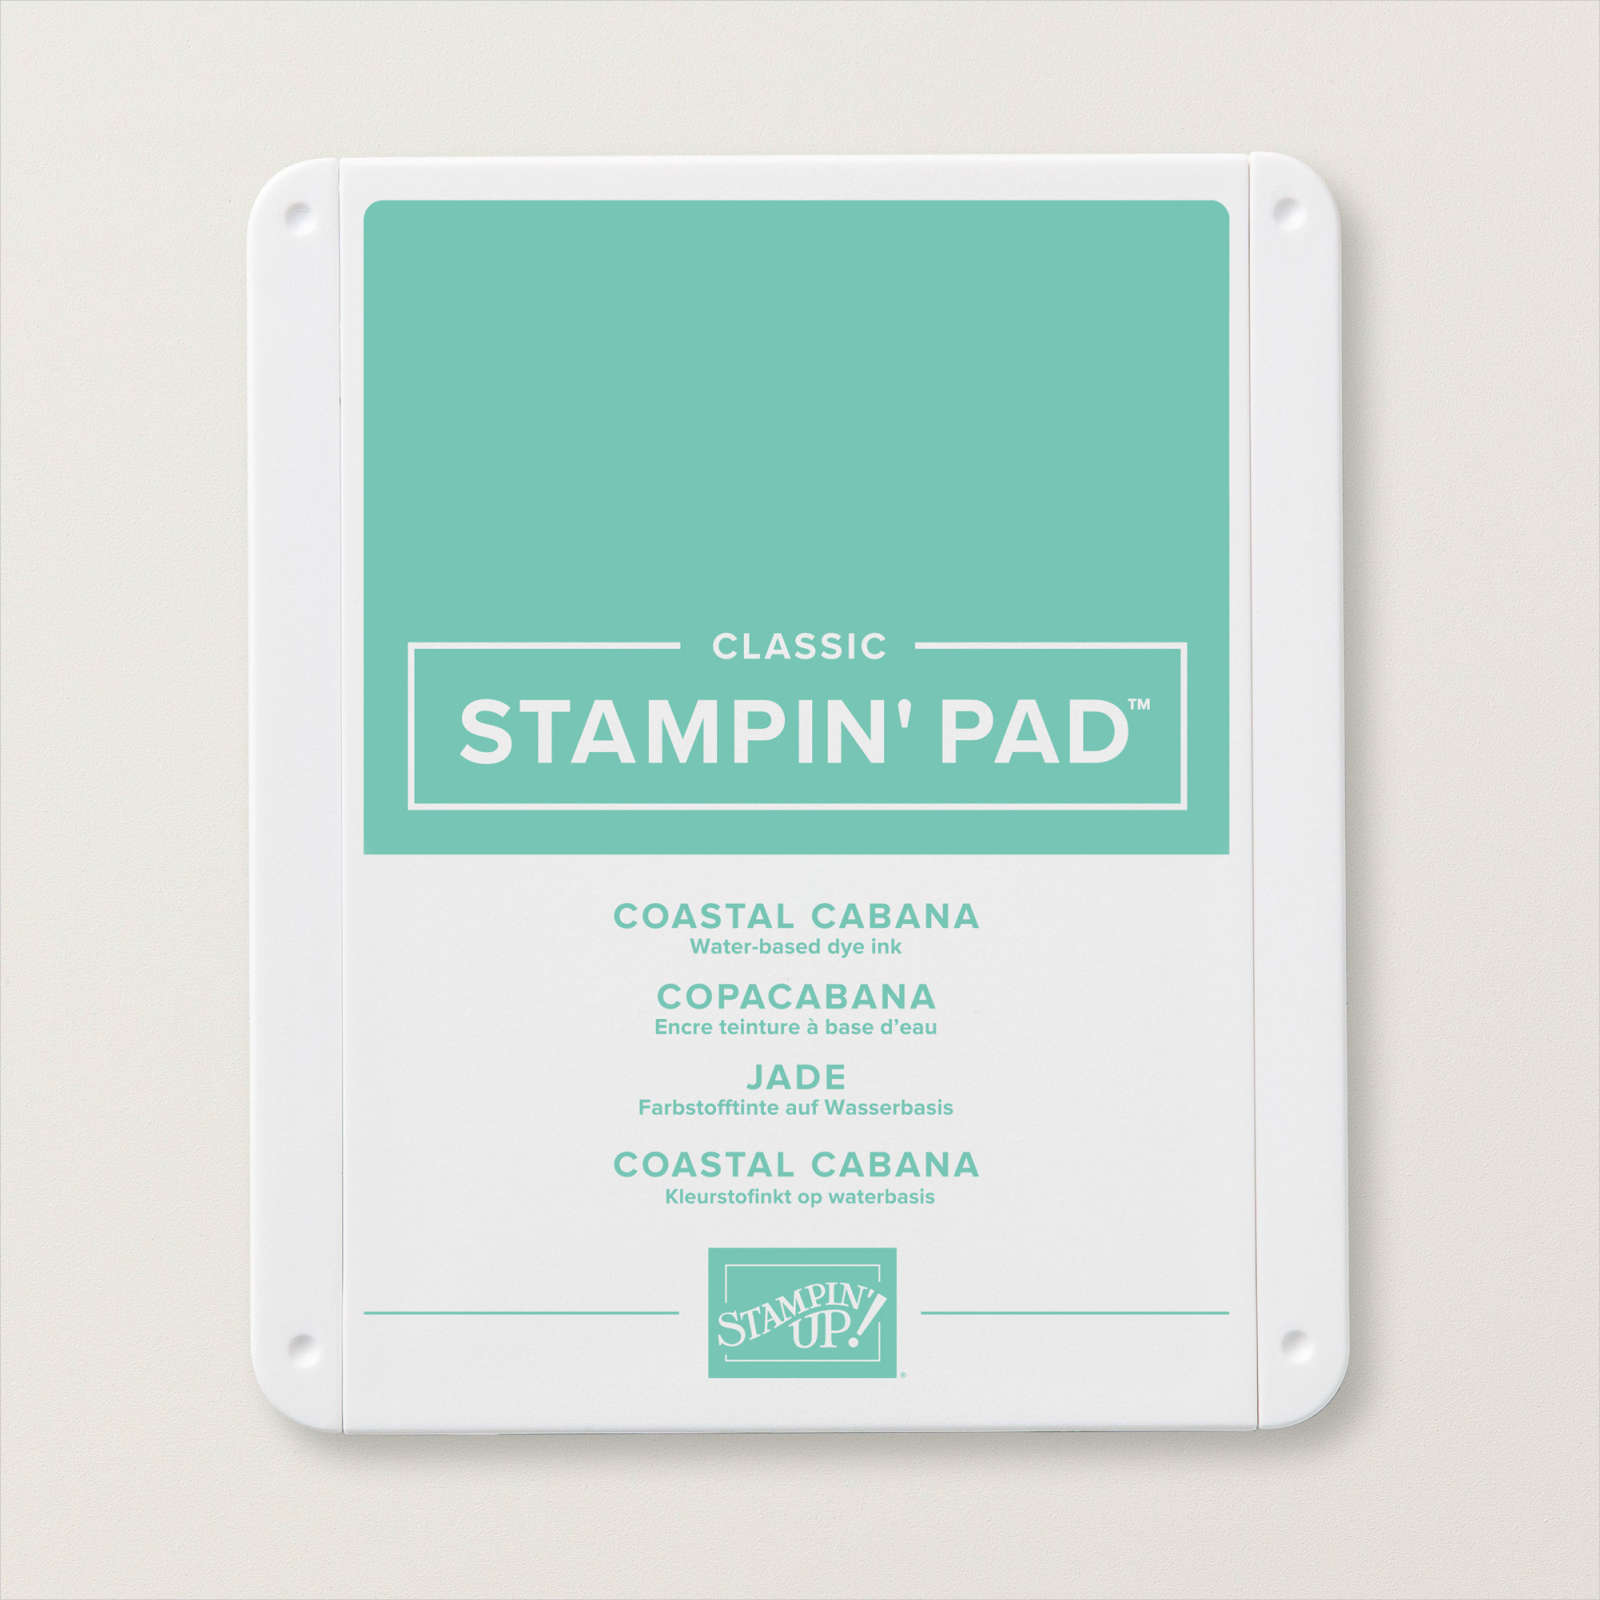
Coastal Cabana Classic Stampin' Pad - 147097 - $13

 COASTAL CABANA CLASSIC STAMPIN' PAD

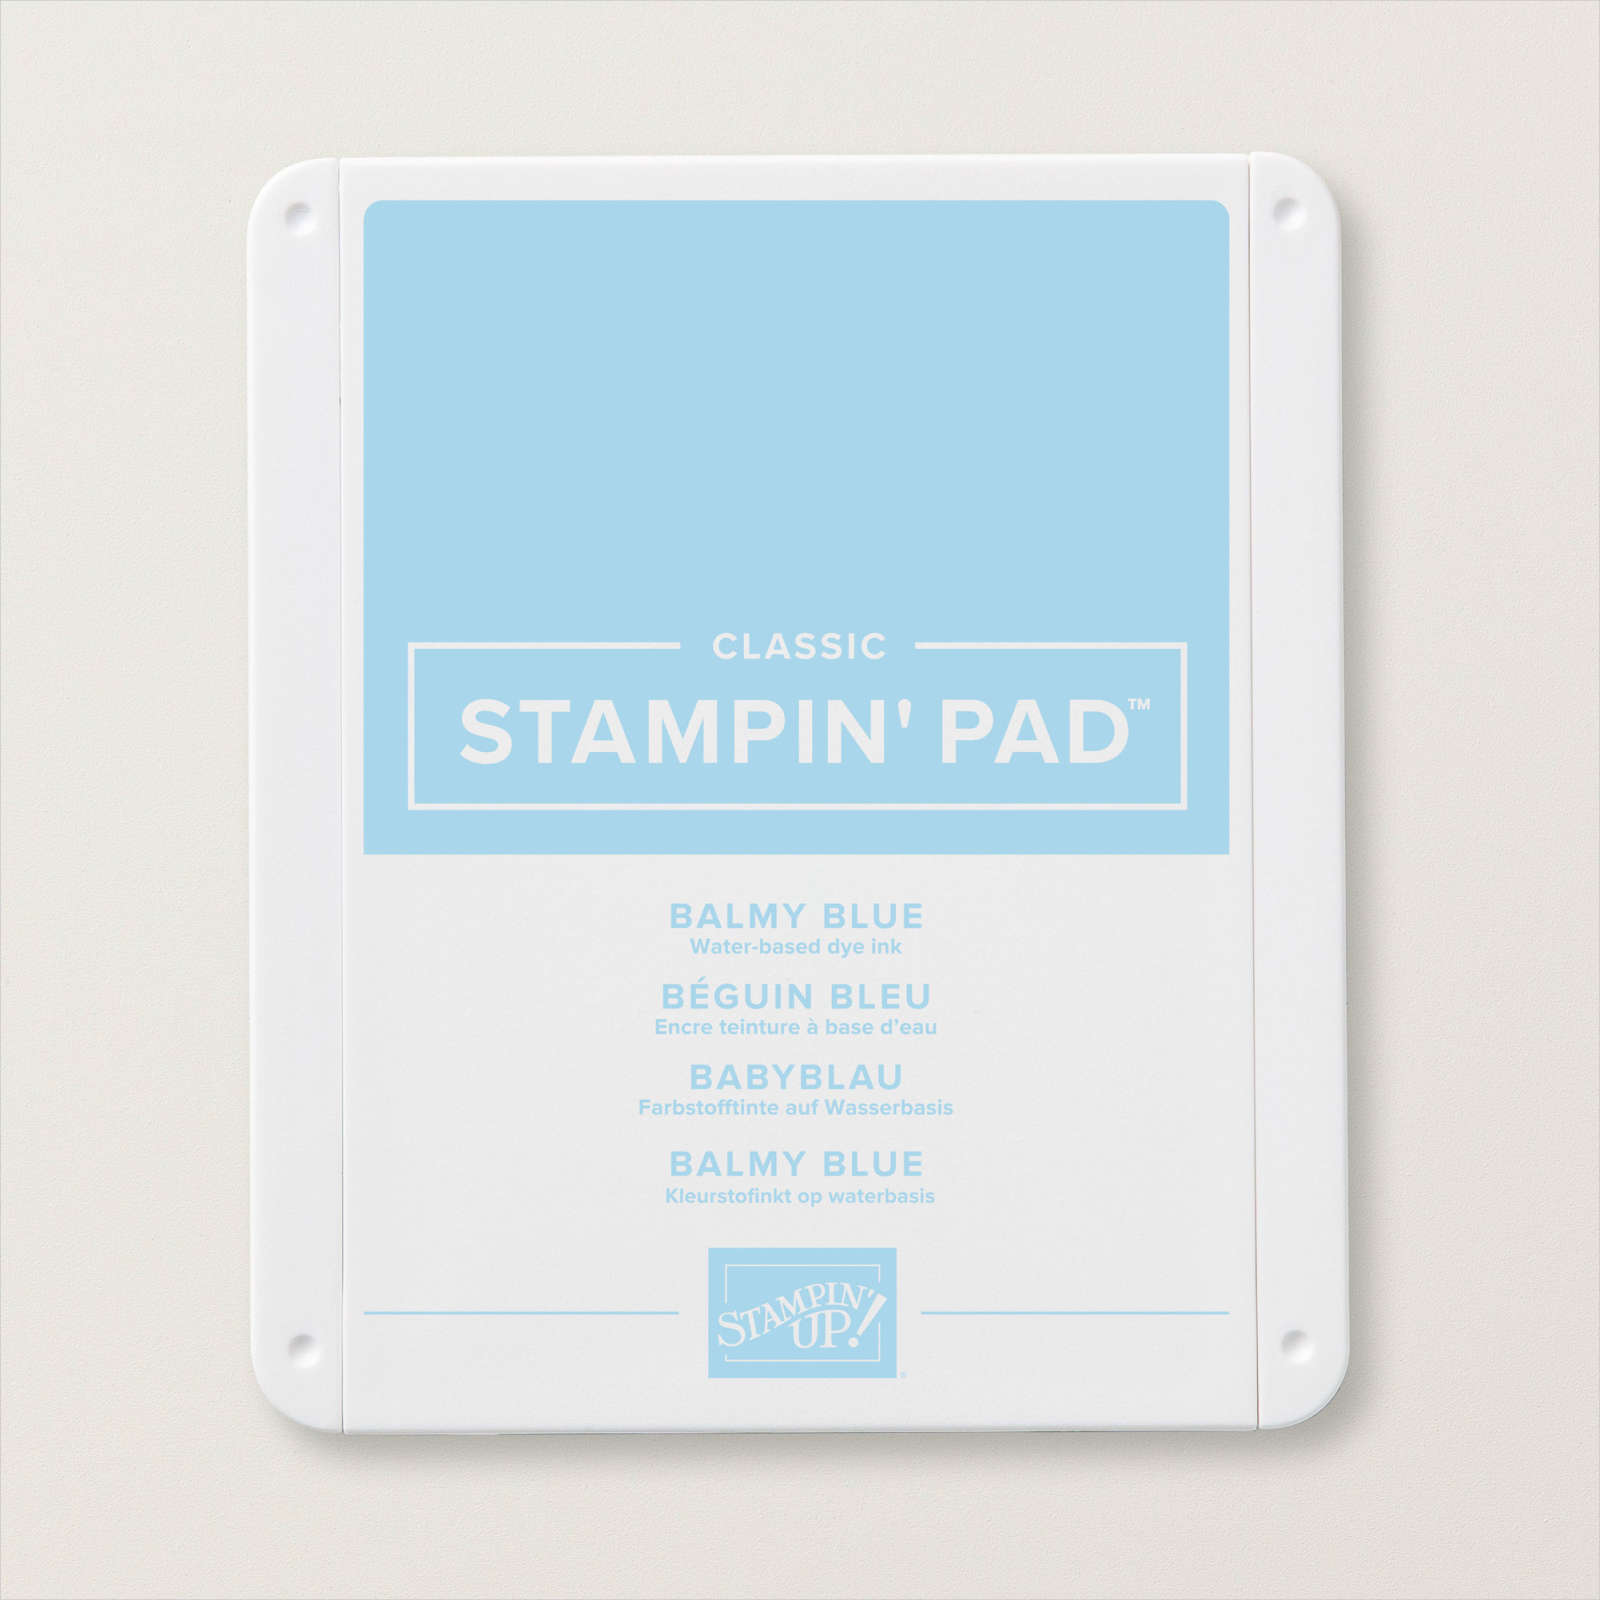
 Balmy Blue Classic Stampin' Pad - 147105 - $13

 BALMY BLUE CLASSIC STAMPIN' PAD
and
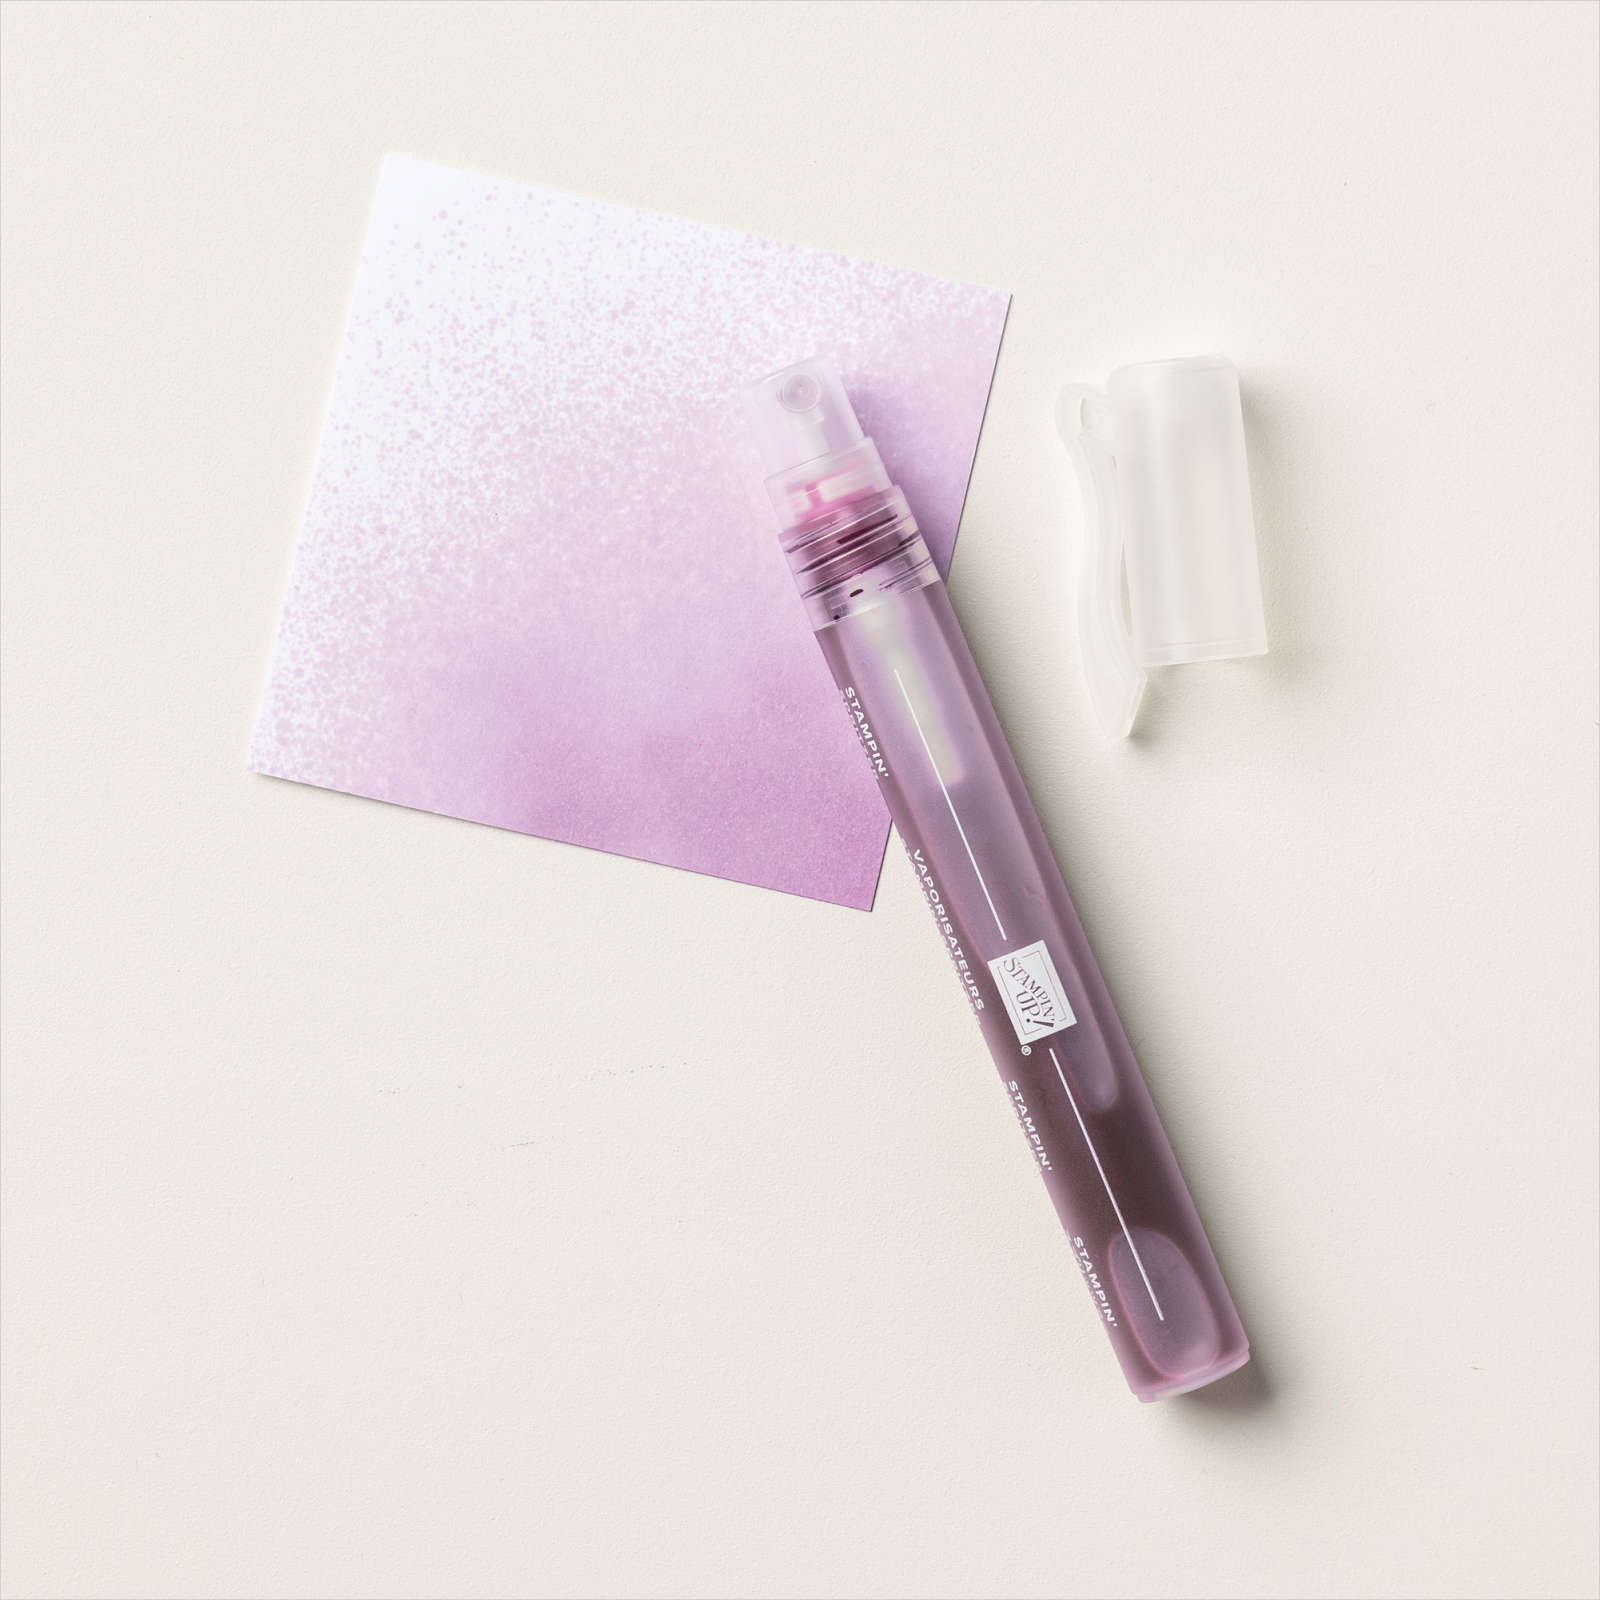
Stampin' spritzer - 126185 - $5

STAMPIN' SPRITZER

Now I was naughty and didn't take progress photos as I was
teaching and sharing this technique with a friend.

When I create watercolour backgrounds I use a piece of acetate.
I swipe the ink colours from lightest to darkest evenly across the piece of acetate
and then I spritz them with lots of water. Once they have lots of water on the ink colours
I simply place my piece of watercolour paper onto my piece of acetate and then turn it over
and smooth out the ink to the side of the paper.  Then I carefully lift the acetate from one side to the other not to make a big inky mess of my background. You will notice if you do not have enough water on your inked acetate that you will have lots of dry bubble spots on your watercolour paper.

Then once I have my watercoloured background I use the heat gun to dry it, this will cause it to curl BUT just keep flipping it over while you are drying it and it will flatten out mostly.

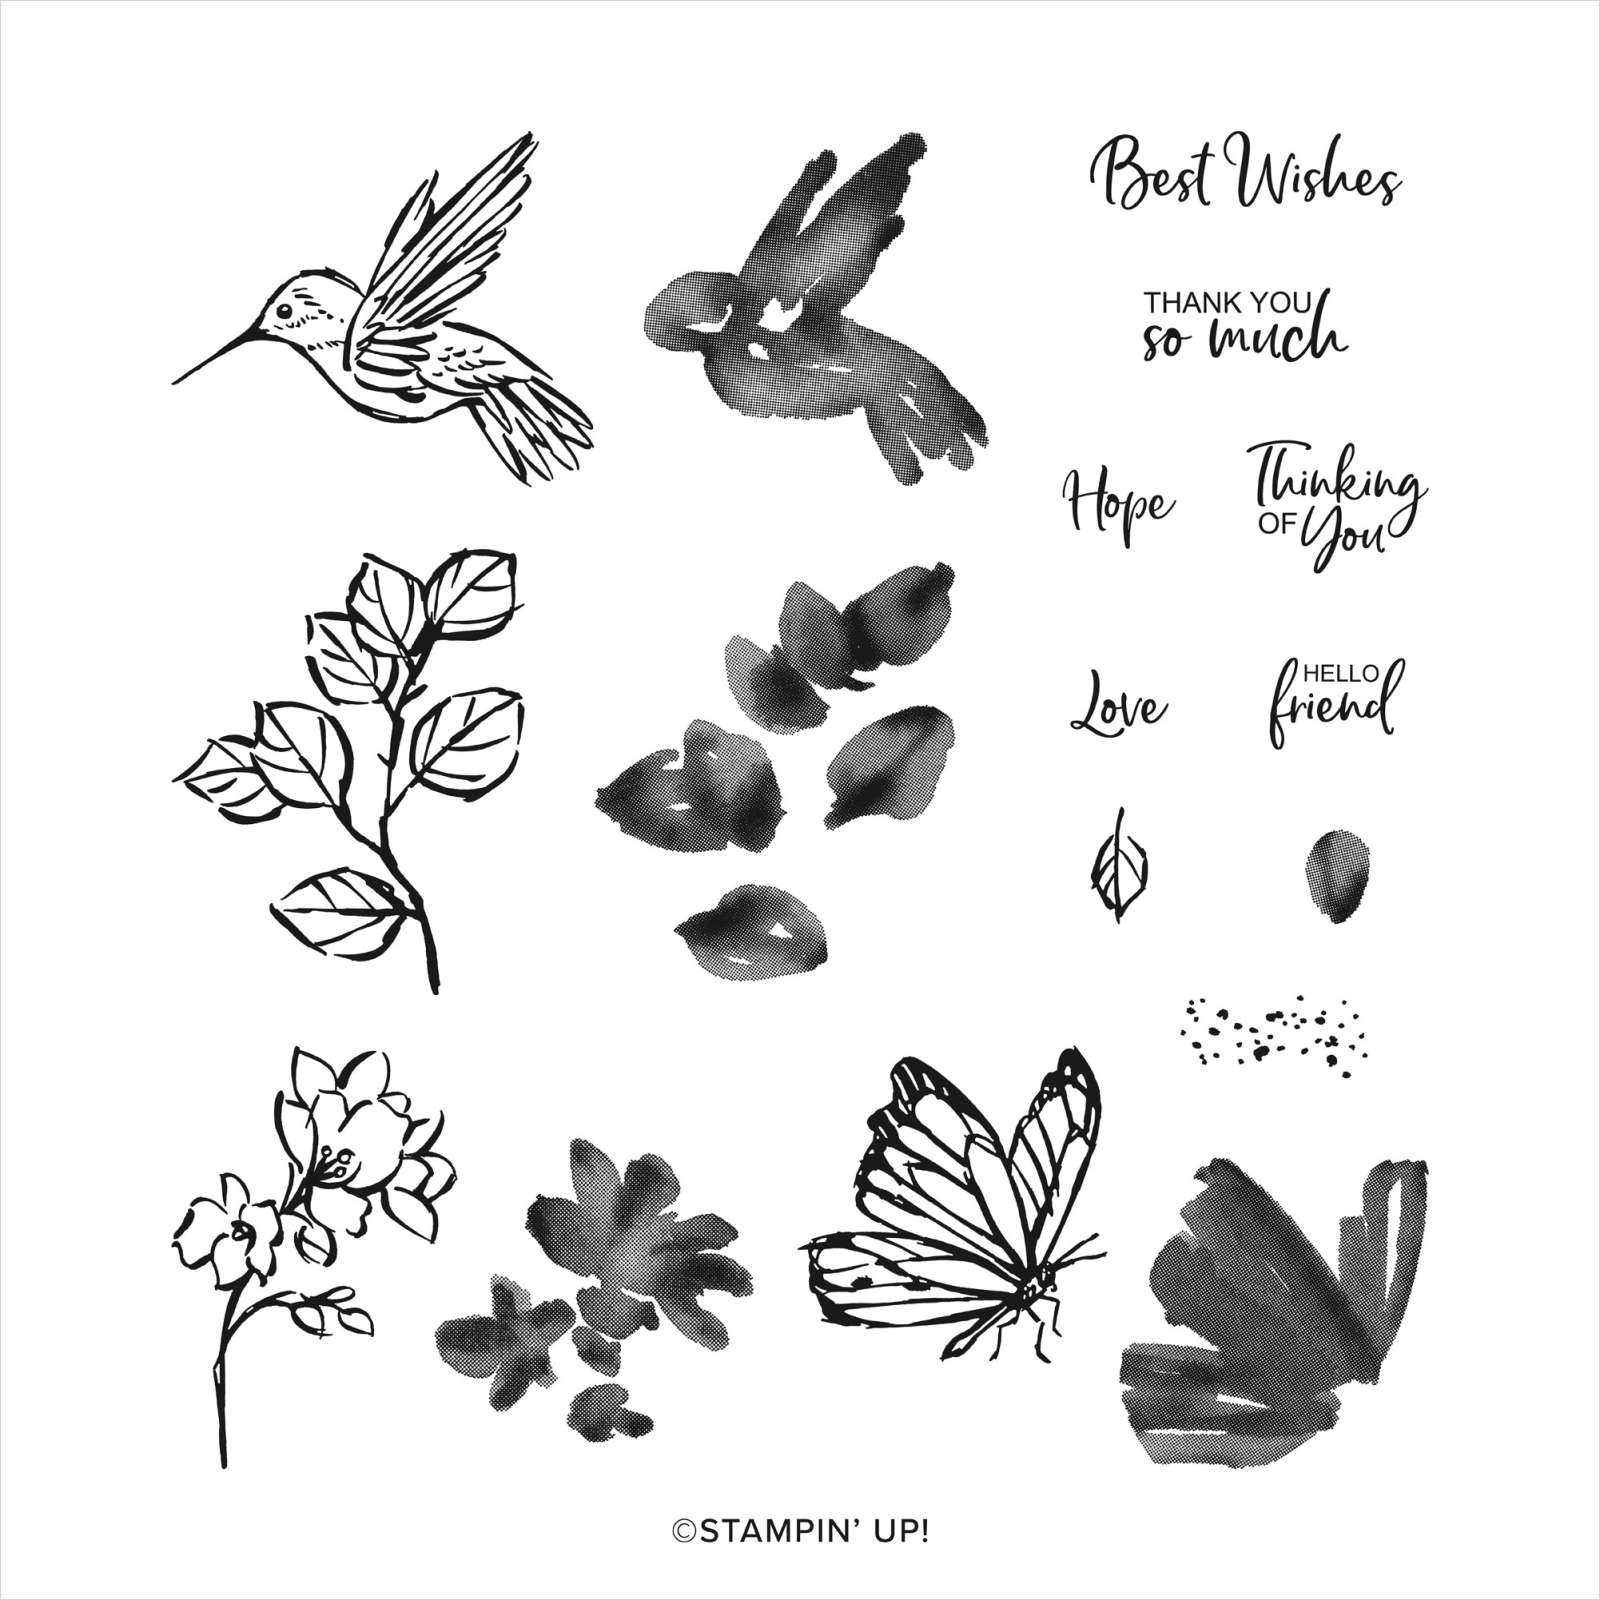
Now I am ready to start stamping...For this card I used the Stamp Set A Touch of Ink
which you can receive for FREE with any purchase of $180 worth of
Stampin' Up! supplies during Sale-a-Bration.
A TOUCH OF INK PHOTOPOLYMER STAMP SET (ENGLISH)
 

This stamp is Photopolymer set so you can see through it.
It is what we call a 2 step stamping set, which allows you to add a solid image to an outline image.
It gives you that artistic look to a stamped image, without having to paint anything LOL.

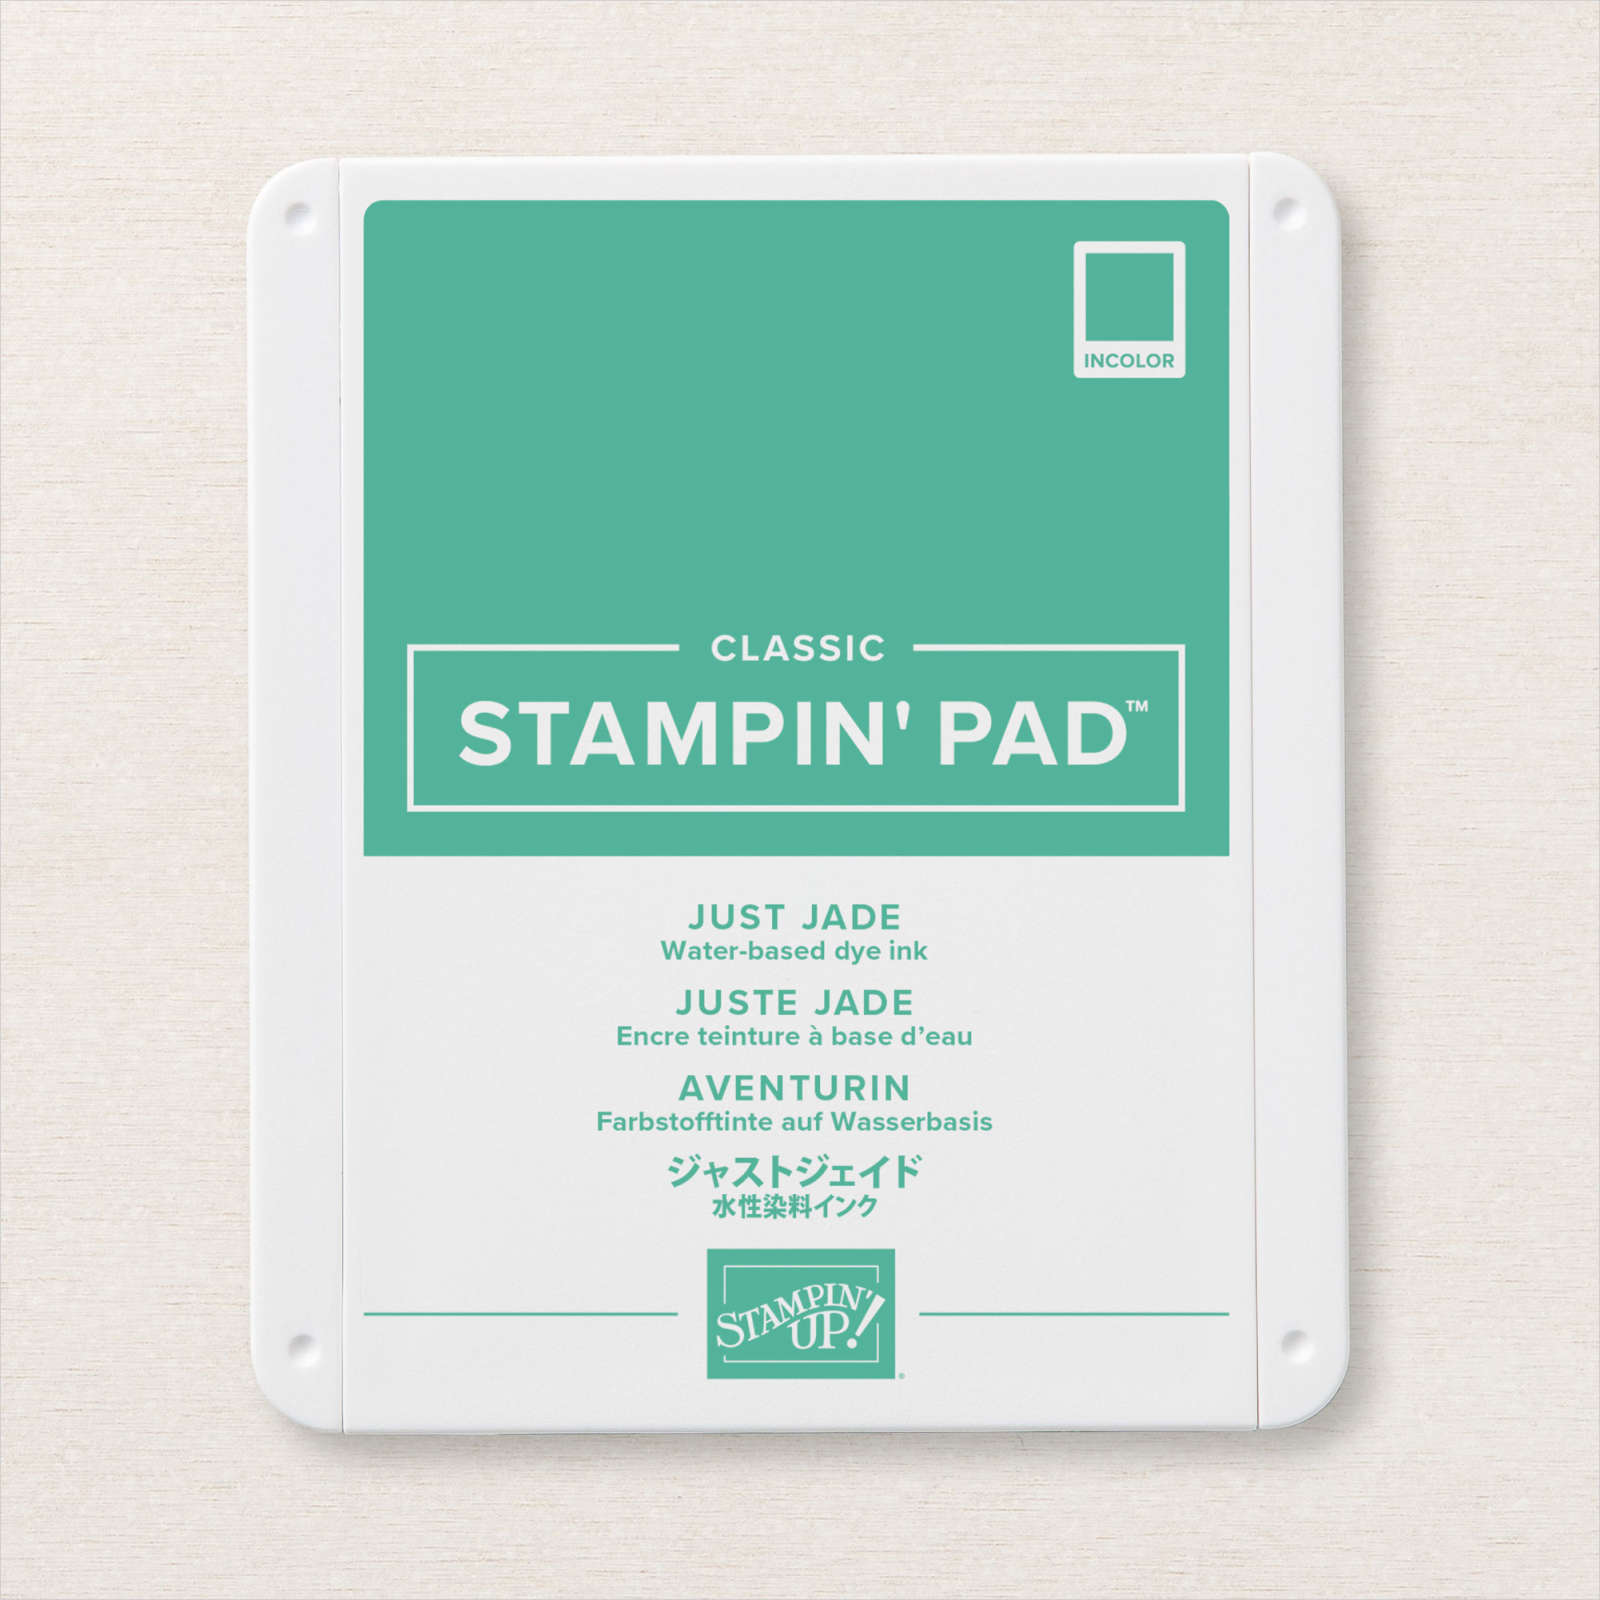
I used Just Jade Classic Stampin' Pad- 153115 - $13

JUST JADE CLASSIC STAMPIN' PAD

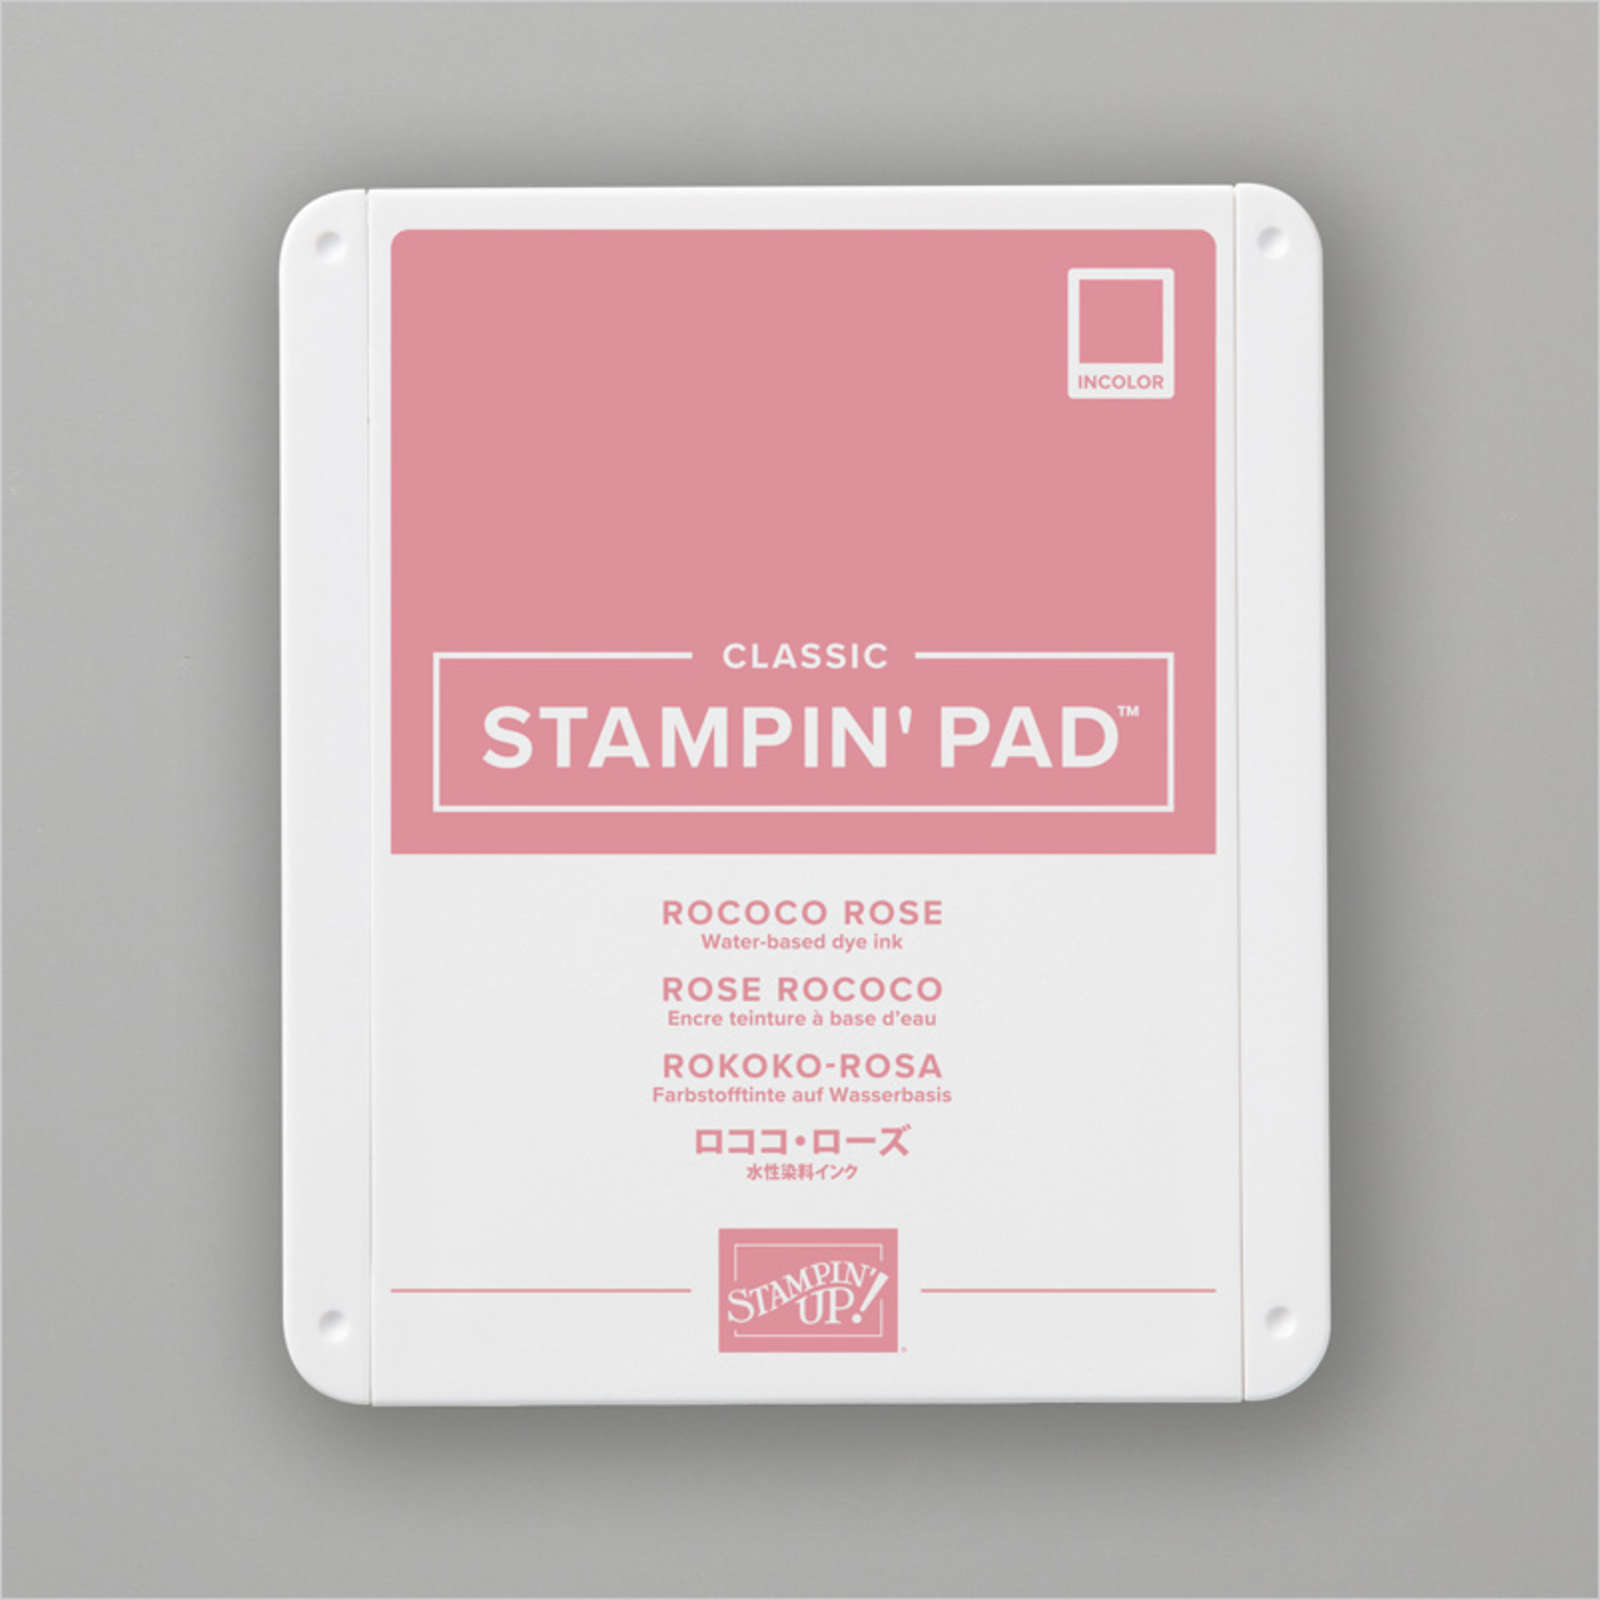
and Rococo Rose Classic Stampin' Pad - 150080 - $13

ROCOCO ROSE CLASSIC STAMPIN' PAD

This card has many layers to it, The Card base is Just Jade Cardstock - 153084 - $15.25


JUST JADE A4 CARDSTOCK

I added another layer of Just Jade Cardstock - 153084 - $15.25 
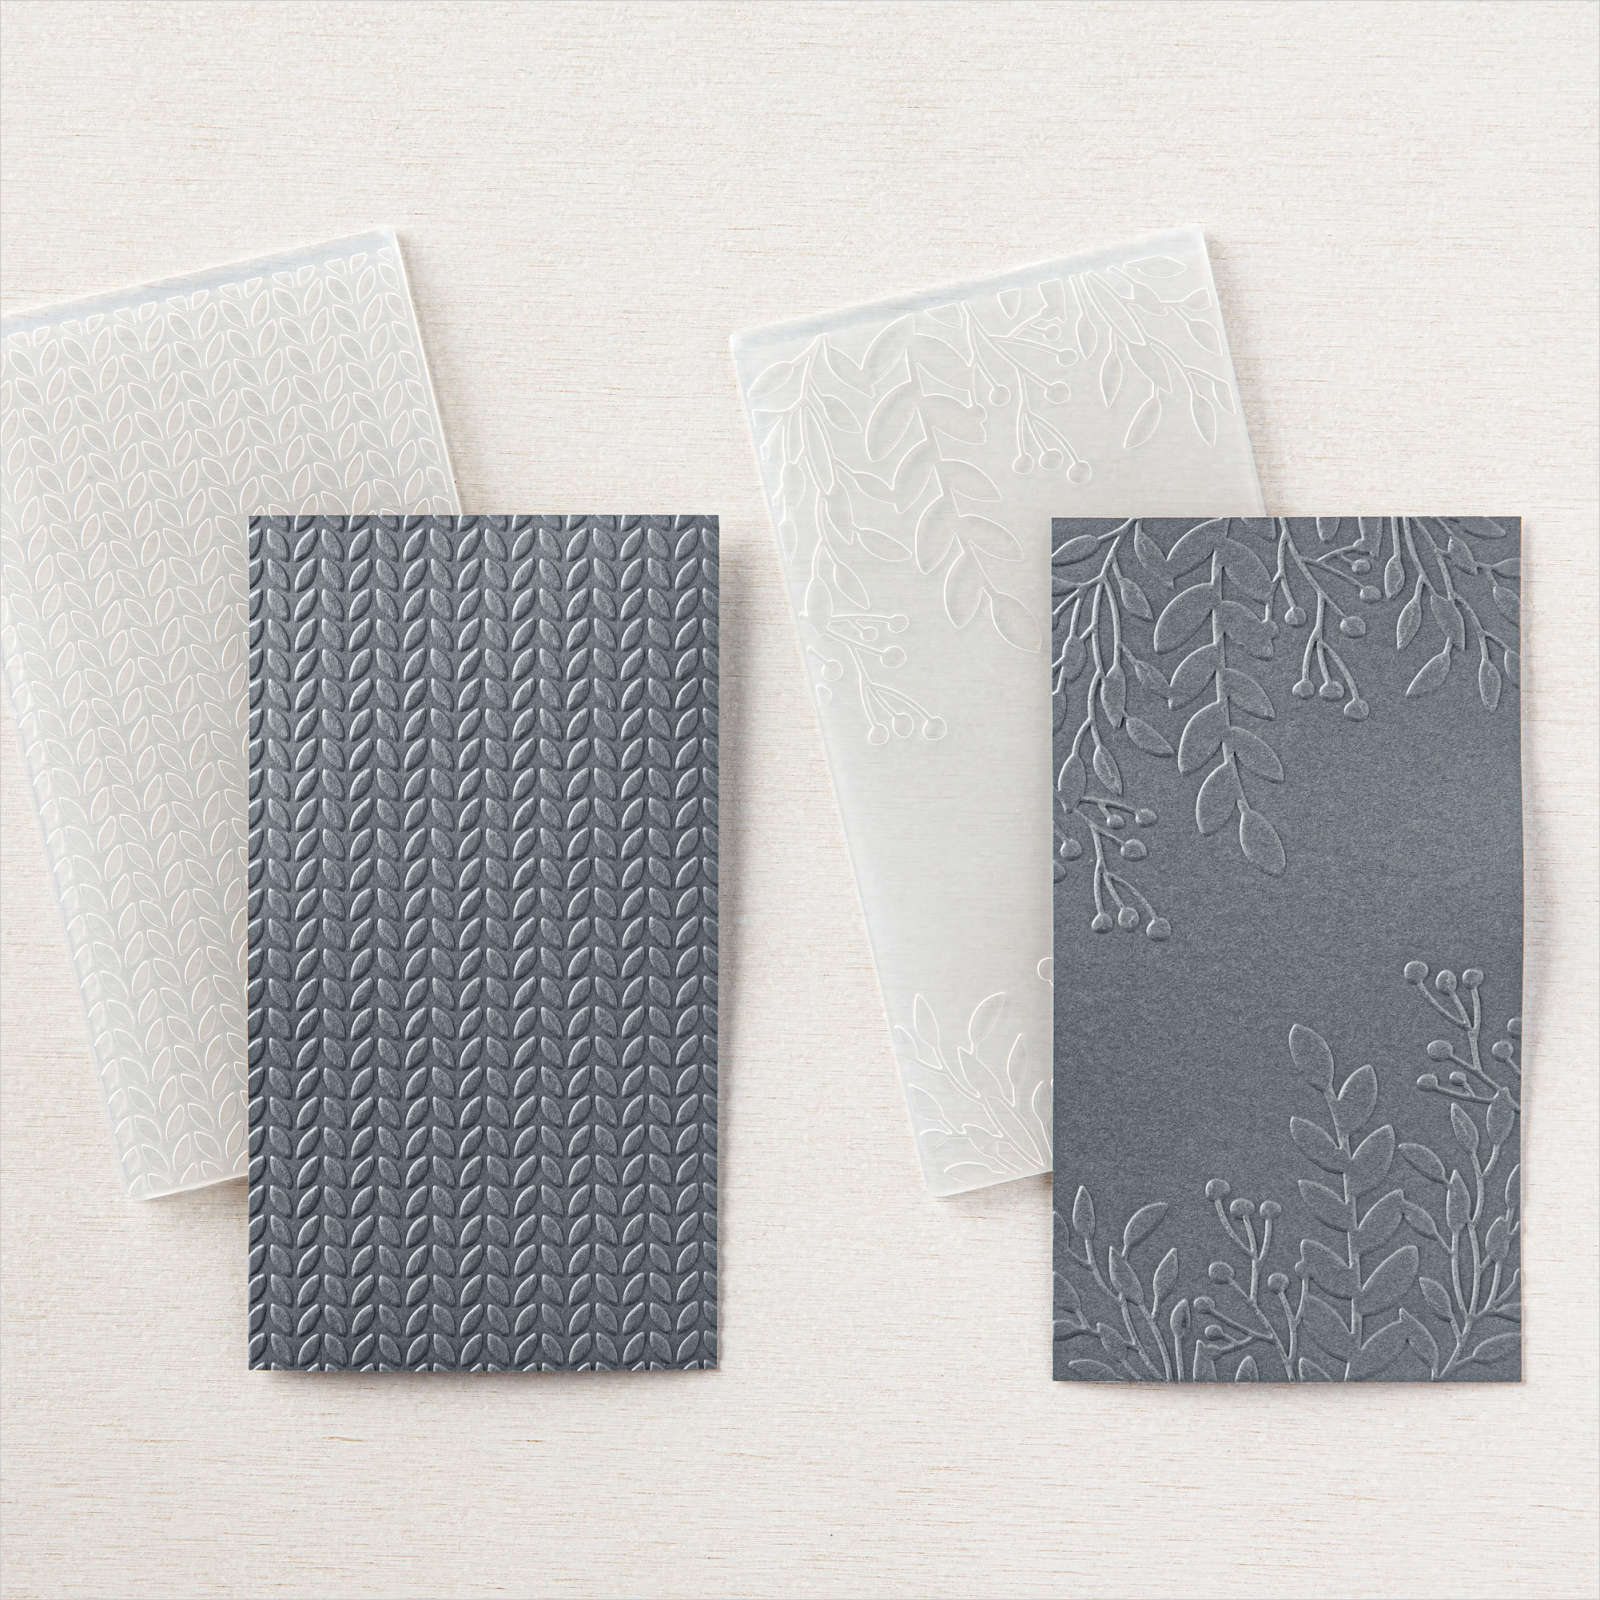
which I embossed with Greenery Embossing Folders - 152716 - $14.00,

GREENERY EMBOSSING FOLDERS
 

Coastal Cabana Cardstock - 131302 - $15.25
COASTAL CABANA A4 CARDSTOCK

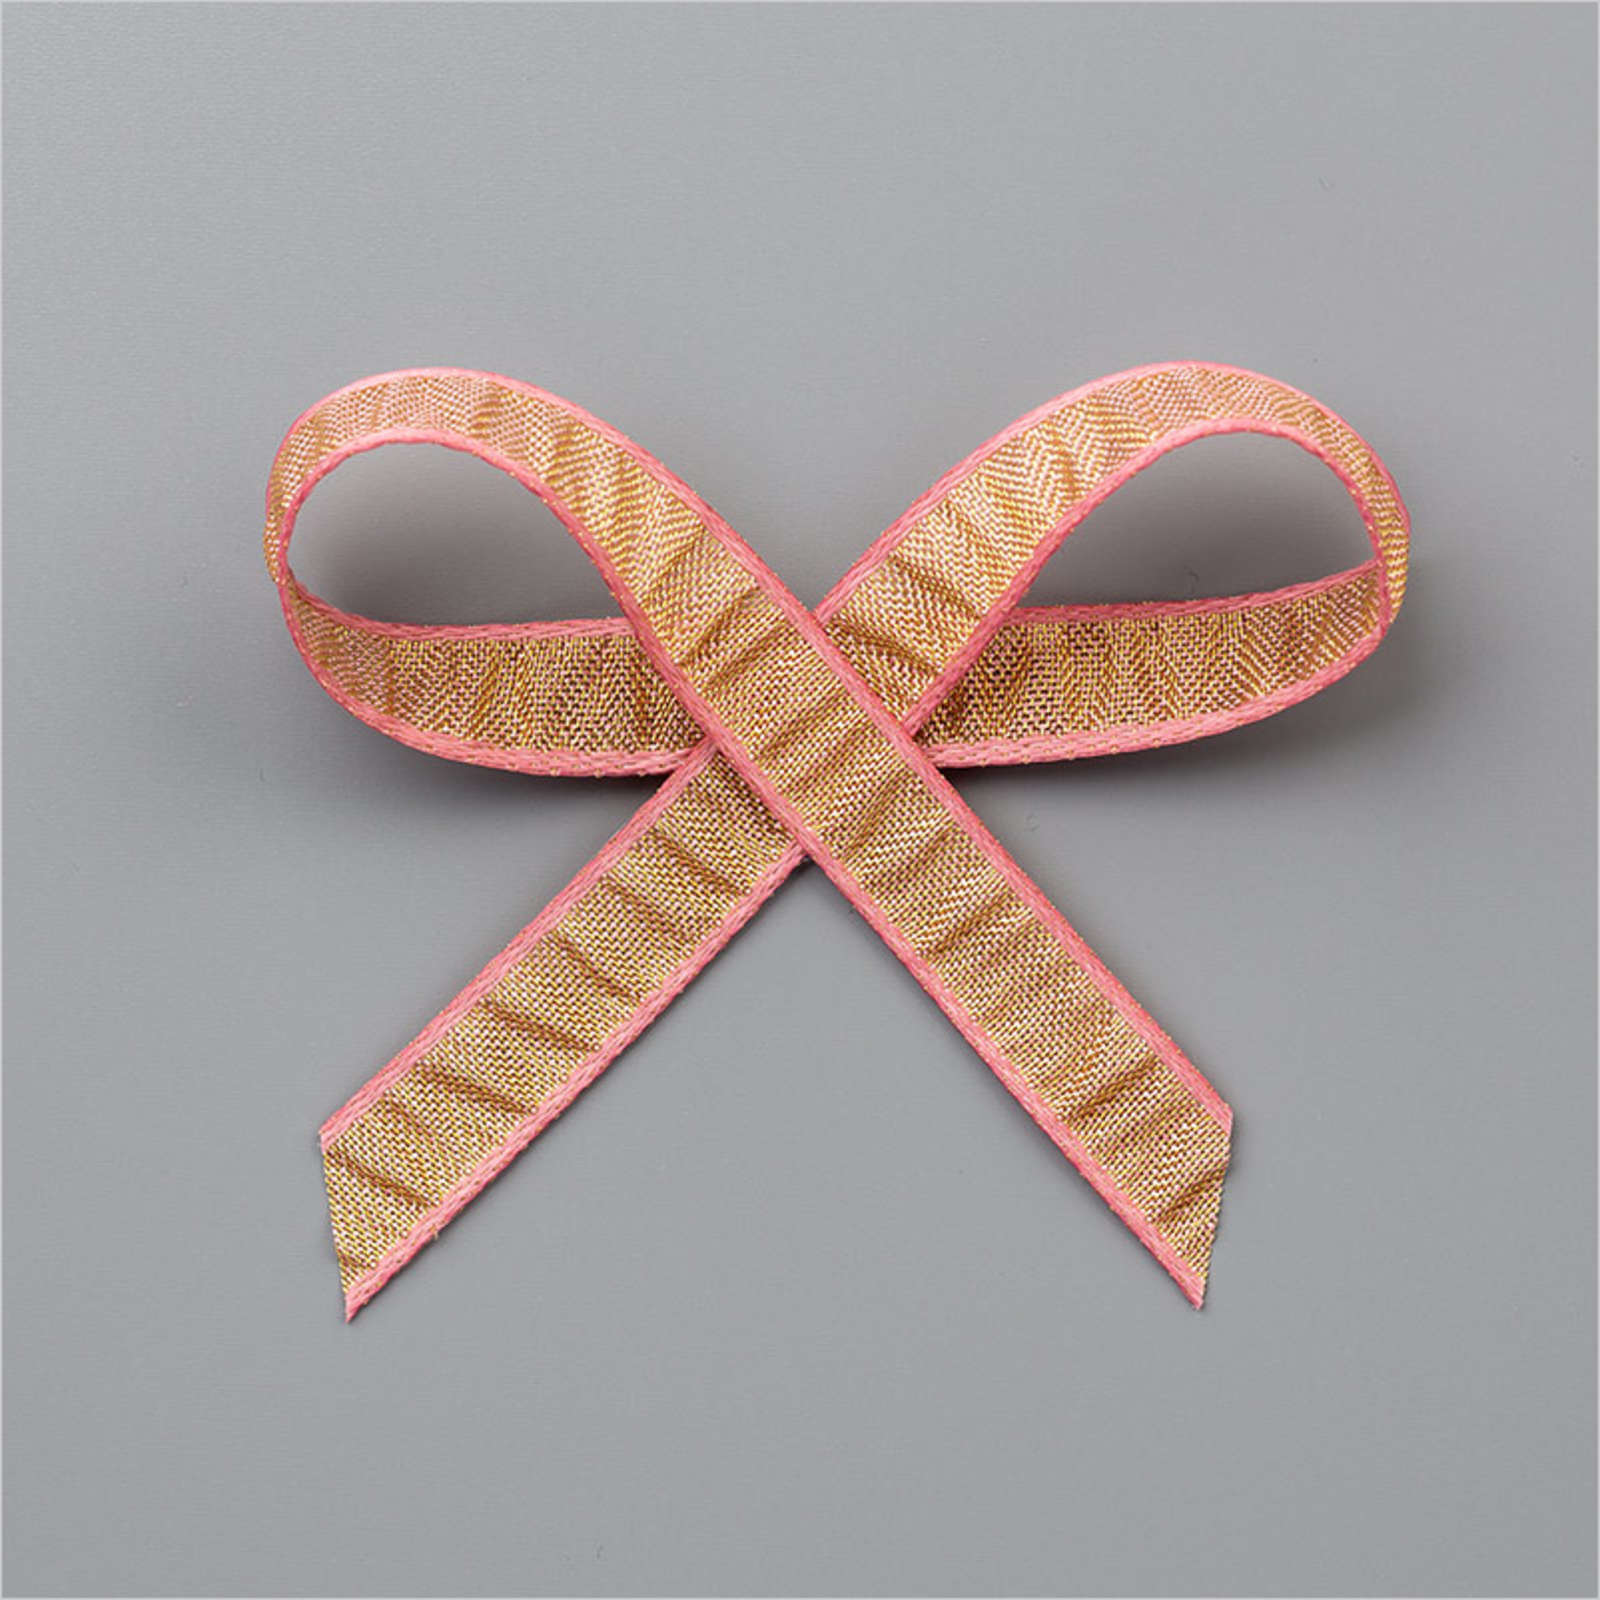
I have used Rococo Rose Gathered Ribbon - 149457 - $14.75

ROCOCO ROSE 1/2" (1.3 CM) GATHERED RIBBON

AND Lastly I used the BRAND NEW product Gilded Leafing - 154560 - $15.75

GILDED LEAFING


Finally here is the card you have all been dying to see after all that scrolling....LOL

Please join us and create a card or use a card that fits this theme and post your image here
Looking forward to you joining us Cheers Shaz

Tuesday, 5 January 2021

The Spot - #144 Designer's Choice


Sneak Peak


Welcome to The Spot, the first challenge of the year.
It is a FUN one today, giving us creative license to play with any products
that Stampin' Up! have in their current catalogues...
So The Spot #144 is Designer's Choice....


 So my new mantra of 2021 is to play with Stamp sets/Dies that haven't been inked up.
Blossoms in Bloom Bundle is a stamp/die set that I said I w0uld buy as soon as the
Annual catalogue launched last June....BUT I only just got it before Christmas.
Last night I inked it up, and diecut the large blossoms and started to play.


I also used quite a few BRAND NEW Products from the Jan-Jun 2021 Mini Catalogue,
which launched today as well as Sale-a-bration promotion.
Stampin' Up! Gilded Leafing, Stampin' Up! Heat and Stick Powder
and Love you Always Foil Sheets.

This was my first play with any kind of Gilding Flakes, and all I can say I
struggled to get it to work and I didn't like that I had no control over this product.
TIP - Make sure you have a large dish and no wind to blow this product away.

I persevered until I was happy with the results of the gilding on the diecuts.
Once I had finished that I die cut some flowers from the Foil Sheets
and stuck them to the inside of the small blooms.


I diecut another one of the open large blossoms from Very Vanilla Cardstock
so that I could use as a mask to add some Blushing Bride Ink to my
background of Blushing Bride Cardstock with our BRAND NEW Blending Brushes...
I love this product, so glad that Stampin' Up! have them in Jan-Jun Mini Catty.
Love the subtly inked background...

I added the Very Vanilla/Gilded Diecuts to my background and
then I used one of the sentiments to a die cut from 
 another NEW products Messages Die.
Then I diecut another sentiment shape from the foil sheet to add behind
Happy Birthday from
Blossoms In Bloom Stamp set as an accent.
 

Pretty happy with my first play with this Blossoms In Bloom Stamp set
and Many Layered Blossoms Dies. As well as the result of the Gilding Flakes.
 

We would LOVE for you to JOIN US this week on this challenge..
Thank you for visiting my blog, please leave me some Lovin' in the form of a comment below
Cheers Shaz

Tuesday, 22 December 2020

The Spot #142 - Colour Challenge


Welcome to The Spot - for Inspiration and Weekly Cardmaking Challenges
This week we are using Black n White with a Pop of Colour...
You can join in the FUN by creating your own version of The Spot #142


 I chose to use products from All 3 catalogues that I can order from currently...
Annual and Holiday Mini as well as the Pre-order of Jan-June Mini...

I needed an Anniversary Card for friends of mine...
Just a PERFECT excuse to create I believe!!!

I used Peony Garden DSP - Annual Catalogue
I used Dainty Diamonds 3D Embossing Folder - Annual Catalogue
I used Black Glimmer Specialty Paper - Aug - Dec Holiday Mini
I used Always in my Heart Stamp Set - Jan-June Mini
Floral Heart Dies - Jan-June Mini
AND Mini  Stamp Cut & Emboss Machine to cut out all the dies...
except the Heart it needed to be cut on the Large Stamp Cut & Emboss Machine


  Thank you for joining us over here at The Spot #142,
Don't forget we would LOVE you to create something for this challenge.
Cheers Shaz


Tuesday, 15 December 2020

The Spot #141 - Last Minute Gift Ideas

 Welcome to The Spot -  for Inspiration and Weekly Cardmaking Challenges


I created a card with a gift tag with a gift card hidden inside...
Using products from Wonder of the Season Suite including the DSP
Wishes and Wonder Bundle, Wonder of the Season Memories and More Card Pack.


 I used a Pretty Peacock Cardstock base card and added Whisper White panel that
I stamped with Pretty Peacock and the leaves.
I die cut the Gold with the North Pole Wonder dies behind the North Pole stamped image.
I don't know what the fold of the card is called BUT it is very simple to make.


Tuesday, 8 December 2020

The Spot #140 - Over The Top Christmas Card


This week we have a super fun challenge for you!  Bring your Biggest Baddest Holiday Project to this week's challenge it's a Holiday Throw-down!  Who will stand tall over all the competition and be crowned The SPOT Holiday Throwdown champion! 
It's all  on the table so anything goes! Cannot wait to see what you create <3


 Hello and welcome to my Blog, This week I have a FUN fold card for you for our theme.
I found this card via the internet search of Fun Fold Cards - Star Easel Card


A6 Size Card

A6 size card
OR a piece of A4 Night of Navy cardstock
cut in half along the long side and then folded in half.
You will end up creating 2 cards from the design...
So easy to make multiples when it is already cut from the first cut.

2 pieces of 3.3/4 x 5.1/4 Seaside Spray Cardstock,
cut both pieces from top left to bottom right.

2-4 pieces of  3.1/2 x 4.7/8 Trimming The Town DSP depending on whether you want different patterns like I did. Cut 1 piece from top left to bottom right and the other top right to bottom left. If you want them all the same then you just need to cut 2 pieces of pattern paper from top left to bottom right.


Rather than a small circular sentiment I chose to create a scene with
matching Trimming The Town DSP.


After watching the video several times I still made a mistake as to where to cut my
card slots to make it stand up straight within the back triangle part of the card.
BUT I got there in the end...Sticky Velcro Dots


Cut the slots on both sides at 3″ from the bottom of the card.
Cut this straight down approx 1" DO NOT ANGLE (like me)

So that I had room to write my message on the back of the card I cut another
3.3/4 x 5.1/4 Seaside Spray Cardstock, cut both pieces from top left to bottom right.
I adhered this to the back of my card and stamped my sentiment from
Itty Bitty Christmas Stamp set.


You will have to include instruction how it fits together when sending in the post.
You will also need a Envelope Punch Board to create an envelope big enough to fit
the card and all of it's components.


Thank you for joining me and I do hope that my card inspired you create your very own
Over The Top Holiday Card for this week's competition...Check it out here

Cheers Shaz