Sunday, 18 February 2024

Ink, Stamp, Share February Hop - All That Flutters


Sneak Peak


Hello and Welcome to Ink, Stamp, Share like the name states
We LOVE using Ink, Stamps and we LOVE to Share our creations with you.
We are a Collaboration of Creative Minds who are Stampin' Up! Demonstrators
from all around the globe. 


You may have joined me from Cindy Or you may be starting the hop here with me, either way I am sure we all have some amazing creations to share with you.

This month the theme is All That Flutters, with anything that flutters, birds, bees, butterflies.
This was a very easy theme for me and especially with the current Jan-Apr 2024 Mini Catty.
We are spoiled for choice with things that flutter in this catalogue.
Pages 8, 9, 10, 67 and 87 have bees on them
Pg 11 has a flying bird
Pages 22, 23, 24 and 25
all have butterflies on them.
Pg 35 has a flying bird
Pg 53 & 68 have chickens
Pg 58 & 67 has a seagull
Pages 60, 61, 62 & 73 have a hummingbird (Which is the set I am focusing on)
Pp 65 has a bird BUT it isn't flying.
OK enough with things that flutter, there is also Hot Air Balloons.


Ok let's get onto what I created with Poetic Expressions Suite Collection on Pages 60, 61, 62.
I just knew as soon as I saw this suite that it would be one of the first things in my pre-order
and it was.  I just LOVED everything about it!!!
Not so much the Hummingbird as we don't have them in Australia BUT
the actual stamp is very realistic and I love the in flight action captured in the stamp.


I created this project for another collaboration I was working on, it didn't make the cut.
Due to the fact of the grunginess of this card I figured that just because I liked how it turned out that it may not be everyone's cup of tea...So to speak.
AND I know not everyone in the Stampin' Up! community like the Wild Wheat in
the 2023-2025 In Color family.


 OK Here's the products I used on this card

Poetic Expressions Suite Collection* - 162826
(Stamp & Die Bundle, Champagne Dots and Poetic Expressions DSP)
Thoughtful Expressions Bundle* - 162822
(Stamp & Die Bundle)
Crumb Cake Cardstock - 121685
Bubble Bath Cardstock - 161727
Wild Wheat Cardstock - 161734
Basic White Cardstock - 159228

Poetic Expressions DSP - 162814
Wild Wheat 3/8" Textured Ribbon - 161628
Champagne Iridescent Dots - 162824
Wild Wheat Classic Stampin' Pad - 161651

Card/Paper:(Including cutting dimensions) Imperial
Crumb Cake - 8 ¼” x 5 7/8” folded in half to create a 5 7/8” x 4 1/8” card base.
Crumb Cake - 5 1/8” x 3 3/8” piece.
Crumb Cake - 3” x 3” piece.

Poetic Expressions DSP  – Wild Wheat Floral: 5 5/8” x 3 7/8”piece.
Poetic Expressions DSP  – Wild Wheat Floral:  3 ½” x 3 ½” piece.
Wild Wheat 3/8" Textured Ribbon - 26" length of ribbon.
Bubble Bath Cardstock - 4 ½” x 2” piece.
Wild Wheat Cardstock - 3” x 3” piece.
Basic White Cardstock - 5 5/8" x 3 7/8" piece (Insert)


INSTRUCTIONS

1. Crumb Cake card base 8 ¼” x 5 7/8” folded in half to create a 5 7/8” x 4 1/8” card base.  Grab your scissors  and grunge up the edges of your card base.


2.    Wild Wheat Floral DSP  5 5/8” x 3 7/8”piece, grab your scissors and grunge up the edges Adhere Wild Wheat Floral to Crumb Cake Card base.

3.    Stamp randomly with Small Floral Bloom onto Crumb Cake 5 1/8” x 3 3/8” piece with Wild Wheat Ink - 2nd generation ink, then crush this piece in your hands to make grungy and creased.  Also Grab your scissors  and grunge up the edges of your card, Adhere to Wild Wheat Floral DSP on card front.

4. Cut 26" of Wild Wheat 3/8" Textured Ribbon and wrap around your entire card
and tie a knot on the opening edge of the card (you will open this again).
Adhere the ribbon in the middle of the front of the card as you will cover this with
a piece of Designer Series Paper, undo your ribbon knot now.


5.    Die Cut (3) x Flowers from Bubble Bath Cardstock 4 ½” x 2” piece, set aside.

6.    Die cut 2nd Largest Thoughtful Expression Circle Die from Wild Wheat Floral 3 ½” x 3 ½” piece,    Add Stampin’ Dimensionals to the back, Adhere 1 Bubble Bath Flower to the Stampin’ Dimensionals at the back and adhere to card front. Add the other 2 Bubble Bath Flowers to the front of the Wild Wheat Floral making sure that they hang over the edge.

7.    Stamp the “You’re in my THOUGHTS Today” with Wild Wheat ink from 3” x 3” piece, towards the bottom of the piece.  Die cut with 3rd Largest Thoughtful Expression Circle Die and adhere to the Wild Wheat Floral with Multi-purpose glue.

8.    Stamp the Floral Bloom with Wild Wheat Ink - 2nd generation ink on Basic White Cardstock 3 ½” x 2 ½” piece, and Die cut it out. Adhere to the Wild Wheat Circle.

9.    Stamp the Hummingbird with Wild Wheat on the Crumb Cake 3” x 3” piece, and Die cut out. Use your bone folder to curl his wings and tail feathers to add dimension. 
Add Stampin’ Dimensionals to the back and layer over the Wild Wheat Circle.


10.    Stamp the Large Floral Bloom with Wild Wheat ink on the Basic White Cardstock
5 5/8” x 3 7/8” insert, 
Also Grab your scissors  and grunge up the edges of your card.
Adhere to the inside of Crumb Cake layer.

11.  Add Champagne Iridescent Dots to the flowers with Glue Dots.

12. Tie your ribbon up now.


 Until the next time that I hop with these ladies again, check out Tammy's Blog.
Follow the list all the way through and leave them all some LOVIN' in the form of a comment.
We all LOVE being CREATIVE


Visit my Instagram page to see a couple of other projects that I have created with this
Poetic Expressions Suite Collection


For all your Stampin' Up! supplies you can follow this link using Host Code MYG26XM4
All order over $50 receive a Handmade Card PLUS an exclusive PDF Tutorial Bundle.
If your order is under $250, use this Code when shopping Online.

Any order over $75 will receive The Crafty Collaborations Feb 2024 Bundle.


 Being CREATIVE is not a hobby it is a way of life.
Cheers Shaz

Thursday, 15 February 2024

Scrapbooking Global Blog Hop - 15th Feb - Portraying Pets


Sneak Peak 0f my title of my layout


Welcome to Scrapbooking Global Blog Hop - Feb 15 - Portraying Pets.
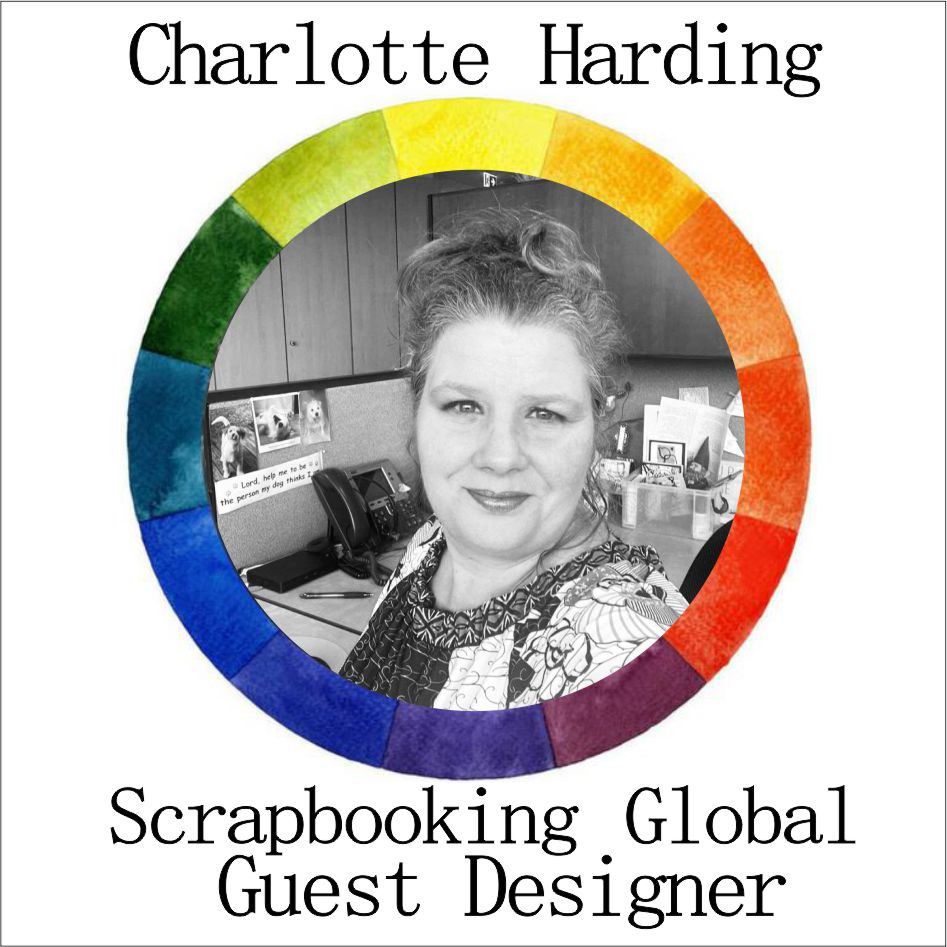
This month we have Guest Designer Charlotte Harding showing us
why she LOVES her pampered pet so much.  Brandy looks so Adorable <3
Charlotte has a clever way of creating an AMAZING layout for this challenge.
Charlotte has included a PDF which will be uploaded into the
Scrapbooking Global - Stampin' Up! Group after 2pm


We are trying to encourage EVERYONE to join in the HOP's every month.
We prefer that you do have a Blog so that you can join the hop every month.
BUT you don't have to have a blog to participate in these monthly challenges
by submitting a photo to the Album of the Month after 2pm AEDT.

You can JOIN Scrapbooking Global - Stampin' Up! FB group here


I knew that this Blog Hop Layout would be of my Grand Daughter Eloise
and her dogs (Well technically they are her Mum's) BUT she LOVES them so much <3
They are Dalmatians and they a half siblings.  Kenzo was Kirrily's first puppy
then Sienna his half sister was born and Kirrily couldn't resist her liver spot colour.
These pair of dogs have the most wonderful nature.  AND they are so good with Eloise.

So let's get onto to how I created this layout... Just basically a layout with lots of photos.
The products that I used to create it were
Basic White 12" x 12" Cardstock -
Real Red Cardstock - #106578
Basic White Cardstock - #159228
Just Kiddin' DSP - #162828
Mini Alphabet Dies - #162934
Bee Builder Punch - #162553
By My Side Cling Stamp Set - #159006
Adhesive Backed Hearts & Flowers Embellishment - #162557
Stampin' Dimensionals  - #104430
Multipurpose Glue - #110755
Most Adored 12" x 12" DSP from Sale- A- Bration (FREE with a $90 purchase) - #162975

For this layout I dreamt that I had to use the cute Little characters from Just Kiddin' DSP.
It is so nice to be able to put so many photos on a page layout BUT yet it not
feel too much for the page. I kept the simplicity of DSP and Title, no techniques.

I fussy cut all the little characters from this DSP as I only brought the paper.
So many variations of what children do in their everyday lives.
You really need to go check it out...Pg 49 of the Jan-Apr Mini Catalogue.


And of course I used Most Adored 12" x 12" Specialty Designer Series (Heart papers)
from the Sale-A- Bration products that you can earn for FREE simply by spending $90.


I firstly cut the Most Adored Gold Heart DSP 12" x 3 3/4" adhered that with tear n tape
along the bottom of the page layout.
Next I cut the Real Red Heart DSP to 2 x  6" x 4" photo mats.
Added Basic White photo mats on top of the Real Red Hearts DSP
I printed the photos BUT they were not the typical sizes that I normally print.
They were printed from some app that Kirrily uploads all the photos into.
So I had to cut all the photos down.


Then I just matted them all with Real Red Cardstock, Bubble Bath Heart DSP OR
Bubble Bath and Real Red Stripe DSP and matted them together on the layout.
I punched out several different heart with the Bee Builder Punch and scattered them
all around the photos and the Titles.

I only used 1 stamp on this entire layout and that was from By My Side Cling Stamp.
I stamped "Nice to have you by my side" in Real Red Ink.
And I added a small pink heart from the Adhesive Backed Hearts & Flowers Embellishments.

My husband helped me out with all the die-cutting of the letters for the Titles.
He just die-cut all the letters from Mini Alphabet Dies out of Real Red Cardstock.


 I just LOVE how the completed page layout has come together,
it is AMAZING that I had a dream about this layout, telling me to use the
Just Kiddin' DSP.


Up next... Cheryl Taylor with her Portraying Pets layout.
Follow the rest of the participants by clicking on the list below.
Glad that you could HOP along with us today following the Scrapbooking Global - Stampin' Up! - Feb 15th Blog Hop.


I want to say a HUGE THANKS to you who visit my blog <3 
I really do appreciate you leaving me some Lovin' in the form of a comment.
 

Being CREATIVE is not a hobby it is a way of life
Cheers Shaz

Sunday, 11 February 2024

Crafty Collaborations - Scrapbook Sunday Blog Hop - Trusty Tools Bundle


Sneak Peak


Welcome to the Crafty Collaborations Scrapbook Sunday Blog Hop,
Crafty Collaborations is a group of Stampin' Demonstrators from throughout
the world collaborating together and sharing their creative flair.


Today I chose to use Trusty Tools Bundle as well as the FREE Sale-A-Bration DSP to create this layout for Crafty Collaborations Monthly Blog Hop

You are the Most AWESOME Dad is something that my Son would say all the time...                   So this stamp set was PERFECT for this layout.


Simple layouts are so much FUN to create and this one was a very easy layout to create as everything for it was fussy cut or die-cut from the FREE Designer Series Paper. 

The Bundle has so many AMAZING workshop tool that you can stamp and die cut, even if you don't choose the DSP as one of your free items


You may have joined me here from Julia's Blog
 with a layout that I am sure is truly a piece of artwork.

I want to say Thanks for visiting Studio Shabaz - CreativeMe68 where being CREATIVE is not a hobby it is a way of life.

Please leave me some LOVIN' in the form of a comment. We all LOVE being CREATIVE.

HOPE your were inspired by our projects

Cheers Shaz 


Up Next is 
 Follow the rest of the participants by clicking on the list below.
Glad that you could HOP along with us today following the
Crafty Collaborations Scrapbook Sunday Blog Hop.


 I want to say a HUGE THANKS to you who visit my blog and comment it really means a lot to me.  I really do appreciate you leaving me some Lovin' in the form of a comment.
 
Being CREATIVE is not a hobby it is a way of life
Cheers Shaz


Tuesday, 6 February 2024

Perennial Postage Accordian Fold Card


Welcome to Studio Shabaz - CreativeMe68
where Being CREATIVE is not a hobby it is a way of life.

I am participating in my first ever Crafty Collaborations Tutorial Bundle,
there are over 50 Tutorials in February's Bundle.


I have created a project with Perennial Postage DSP (Designer Series Paper)
and the Perennial Postage Dies.  This project is one that I have made before and
had so much FUN creating the last card that I just had to do it again with these
GORGEOUS Designer Series Papers.


You can buy the Tutorial from me directly or you can purchase $75 worth of products
from my online store and you will get the PDF delivered to your email address.


Please leave me some LOVIN' in the form of a comment.
We all LOVE being CREATIVE -

Being CREATIVE is not a hobby it is a way of life
.
Cheers Shaz


Sunday, 4 February 2024

Ink, Stamp, Share Showcase Hop


Sneak Peak


Hello and Welcome to Ink, Stamp, Share like the name states
We LOVE using Ink, Stamps and we LOVE to share our creations with you.
We are a Collaboration of Creative Minds who are Stampin' Up! Demonstrators
from all around the globe.

This month's theme is a Showcase Hop - so showcasing what we are currently creating with.
I have been participating in an Insta Hop where we are using a particular colour.
So here is another card that I created using all the left-overs on my desk.
I don't know about you BUT I LOVE making cards with the leftover bits,
I hate putting those bits away waiting for the day that I will use them again.


I chose to use Layered Florals 3D Embossing Folder from the Jan-Apr 2024 Mini.
Which is just so gorgeous with all the Lotus flowers on it.
I embossed it on Poetic Expressions DSP, it created a deeper impression because
of the weight of the Designer Series Paper.
Using the dies from the Apple Blossom Dies I cut a scalloped border from Basic White.
Then I used the leftover piece (back of the DSP) for the bottom half of the card.

I stamped the "Hello" sentiment from Heartfelt Hellos which is a sentiment only stamp
with common sentiments that we use often.  You can earn this for FREE during SAB.
Sale-A-Bration continues until the end of Feb with plenty of AMAZING FREE products.

Now the Hello was stamped I layered up the Basic White layer and the Moody Mauve layer
and ran it through the Layered Florals 3D EF....
BUT before I did that I added some into on the inside of the folder so that you will
be able to show up the ink on the raised parts of the Lotus flowers after you have finished embossing it.  I don't own the brayer so I just used a blending brush and added colour to the folder.  It looks GREAT, don't you think?


 Here are the 2 cards side by side...Same, Same BUT Different


Hope you enjoyed my Showcase projects, I was a little worried about it.
SOOO long story short this card is very much the same as the one I did for the Insta Hop.
I just couldn't create anything different than what I did for the previous hop,
it annoyed me so much that it wasn't I wasn't totally happy with it.
At least it didn't end up in the bin, sometimes you just have to throw these kinda cards.
BUT looking at it a couple of days later I don't know what I was worried about.

I am sure that Tricia will have something wonderful to share with us all.

Up next is Tricia's Stamping Creations

Until the next time that I hop with these ladies again, Follow the list
all the way through and leave them all some LOVIN' in the form of a comment.
We all LOVE being CREATIVE -
Being CREATIVE is not a hobby it is a way of life.
Cheers Shaz